Category Archives: Uncategorized

2022 Plant Sale!

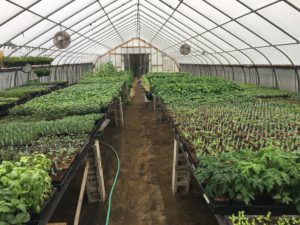
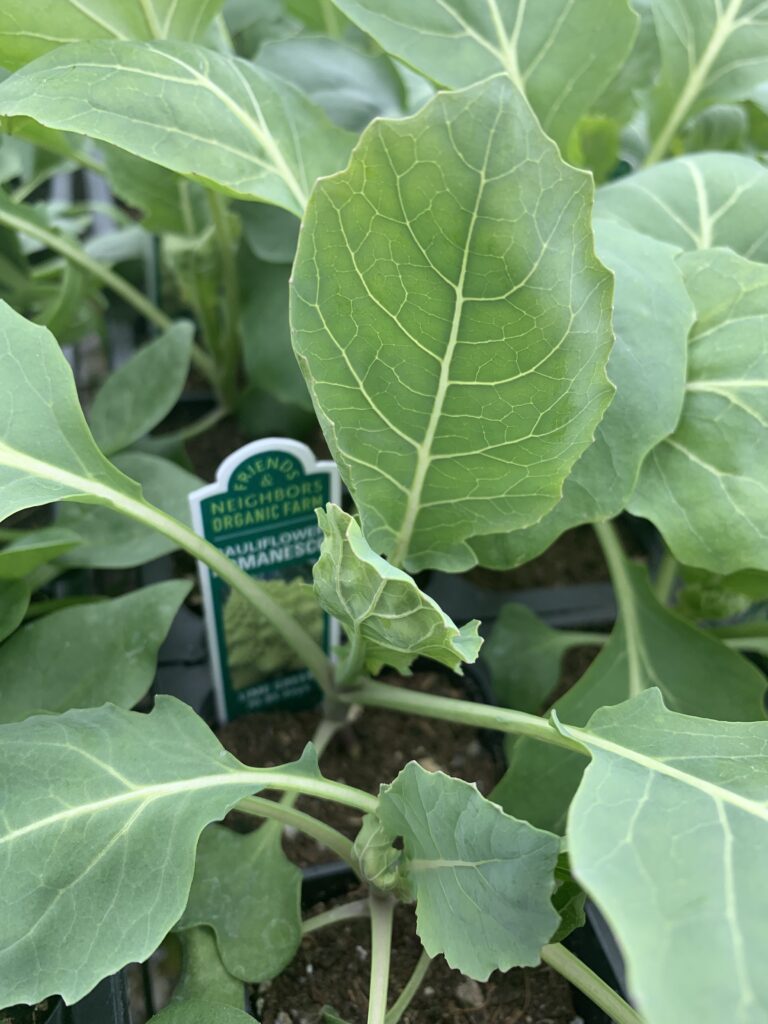
Greetings Gardeners! Another trip ’round the sun and here we are, on the verge of another gardening season. Exciting, indeed!! The greenhouse has been a busy place the last couple months and with the warmth and sun starting to return more regularly, plants are starting to respond. You’ll find most all of the usual suspects available as well as a couple exciting rookie prospects we picked up in the off-season…the Bastan Poblano Pepper and Romanesco Cauliflower.

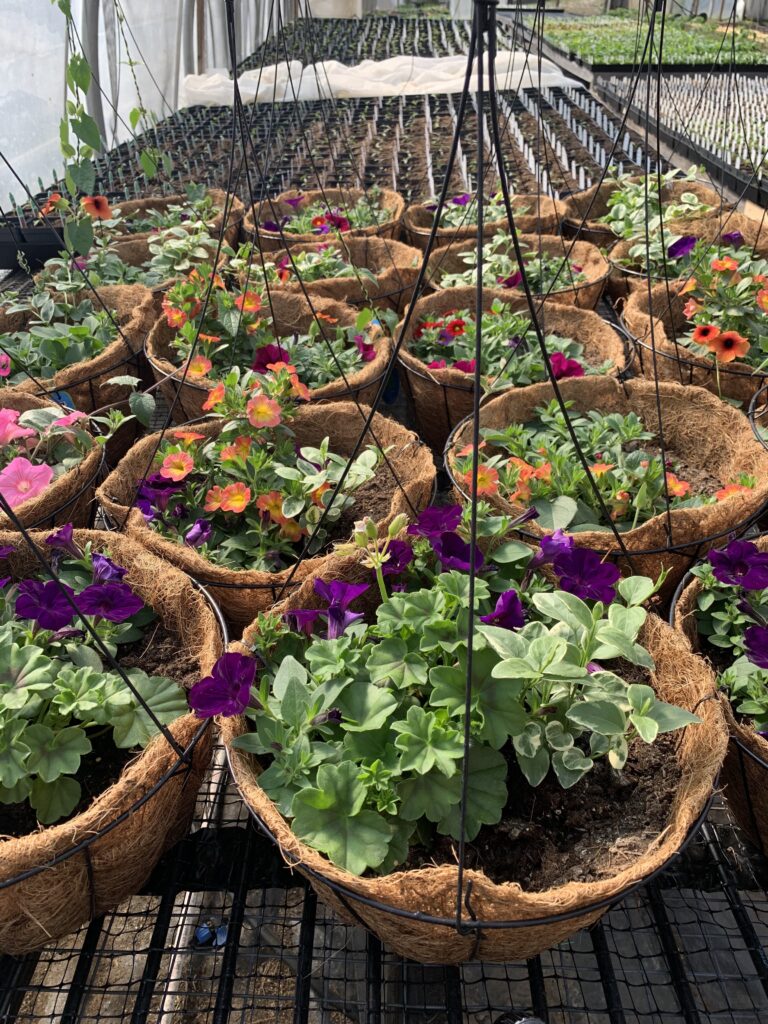
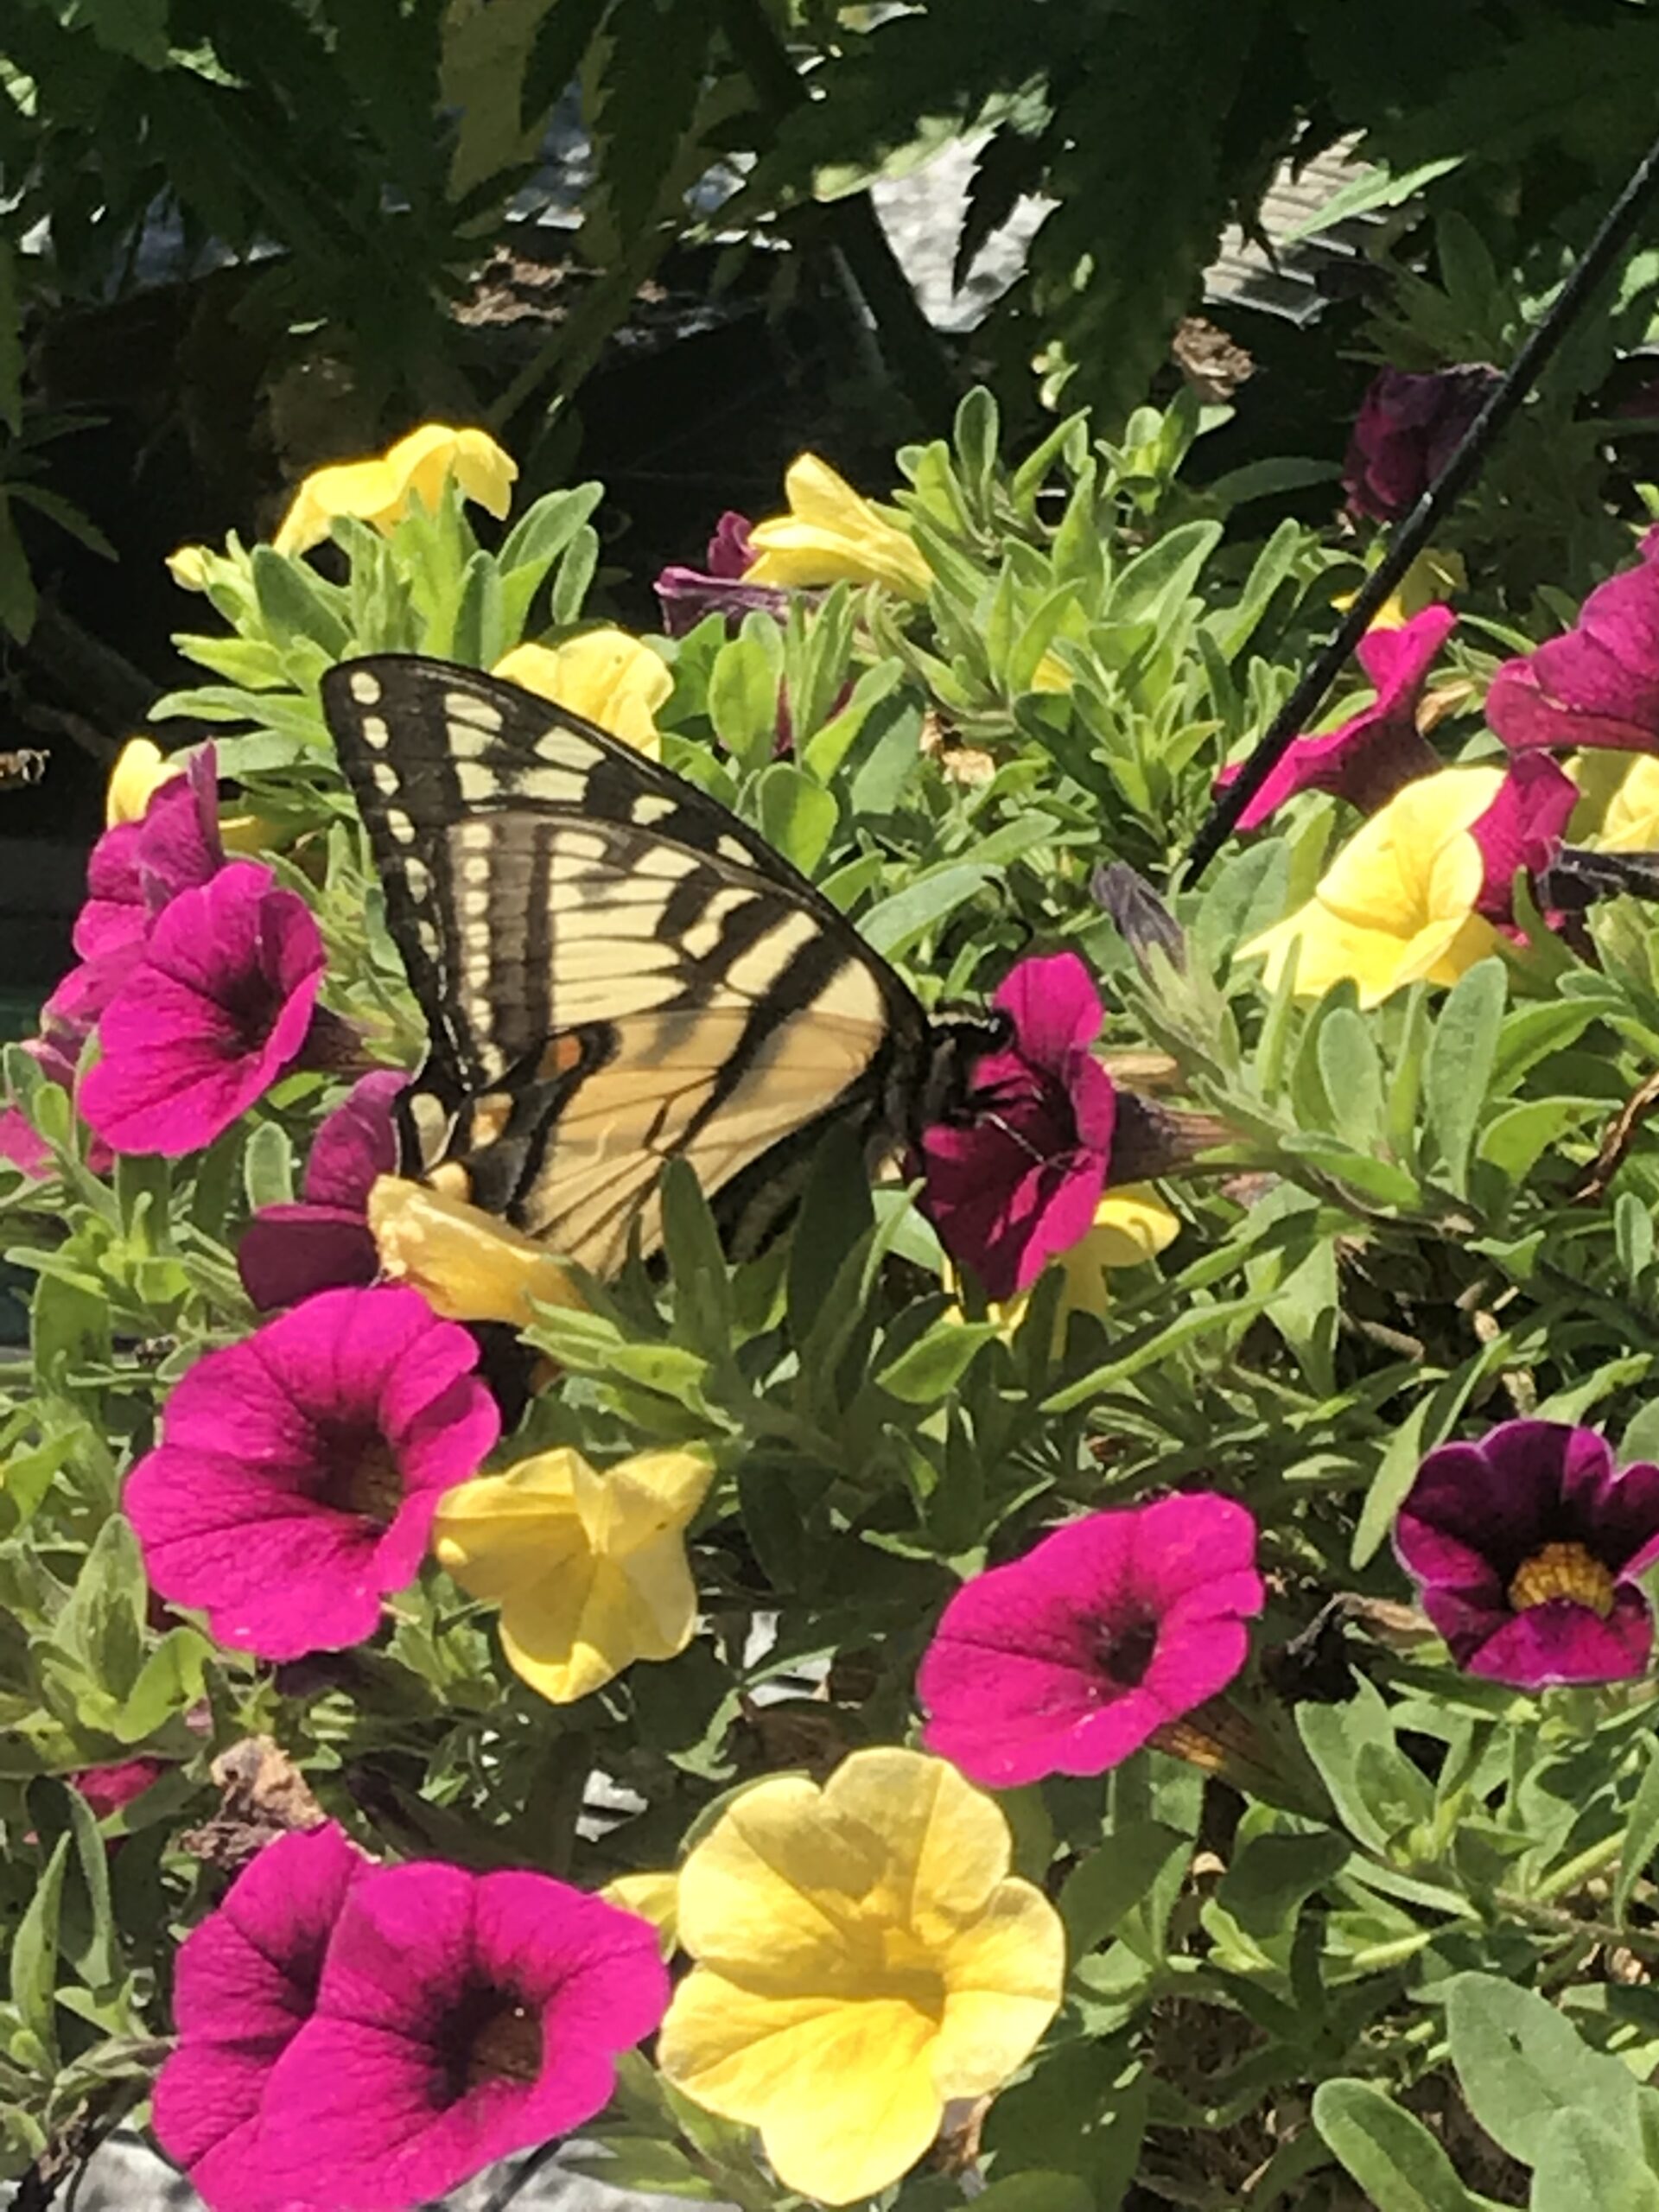
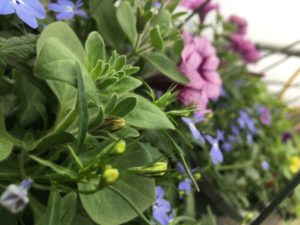
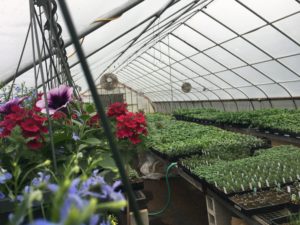
We’ve also expanded our flower basket choices this year(we have over 200 baskets!!) in terms of varieties and colors…should be something for every taste!

This year we’ll be open for business on Saturday May 21st and Saturday May 28th from 9am to 2pm.

Want to order plants now and stop reading? Click here.

We’ll be adhering closely to this timeline on the 21st especially, as your favorite greenhouse grower will be performing Songs You Don’t Know, An Evening of Original Music With Papa G at The Den at Harry’s Hardware in Cabot from 6-8pm. So of course, I’ll need time to get all gussied up for the big show. If anyone cares to hear what a farmer sounds like behind a keyboard and a mic, that’ll be the day. I guarantee you will not hear one song you know. For better or worse….ha ha.

Although this performance will be solo, here’s a sample of one of my tunes with my All-Star Dream Band.

Rodeo Clown-Jeff Guerin and John Dodson

But I digress…..Feel free to shop for plants and pay online and let me know which Saturday you’d like to pick up and I’ll have your order ready. Or just show up! I will say there are some herbs that are in short supply this year, so pre-ordering might not be a bad idea. If anyone is looking to get a big jump on the garden and get things in earlier, we can probably arrange a pickup on the 14th.

NOTE: Squashes, tomatoes and peppers and a few herbs will not be ready until the 21st.

Click here to go to our online shopping site and order or just check out what we have!

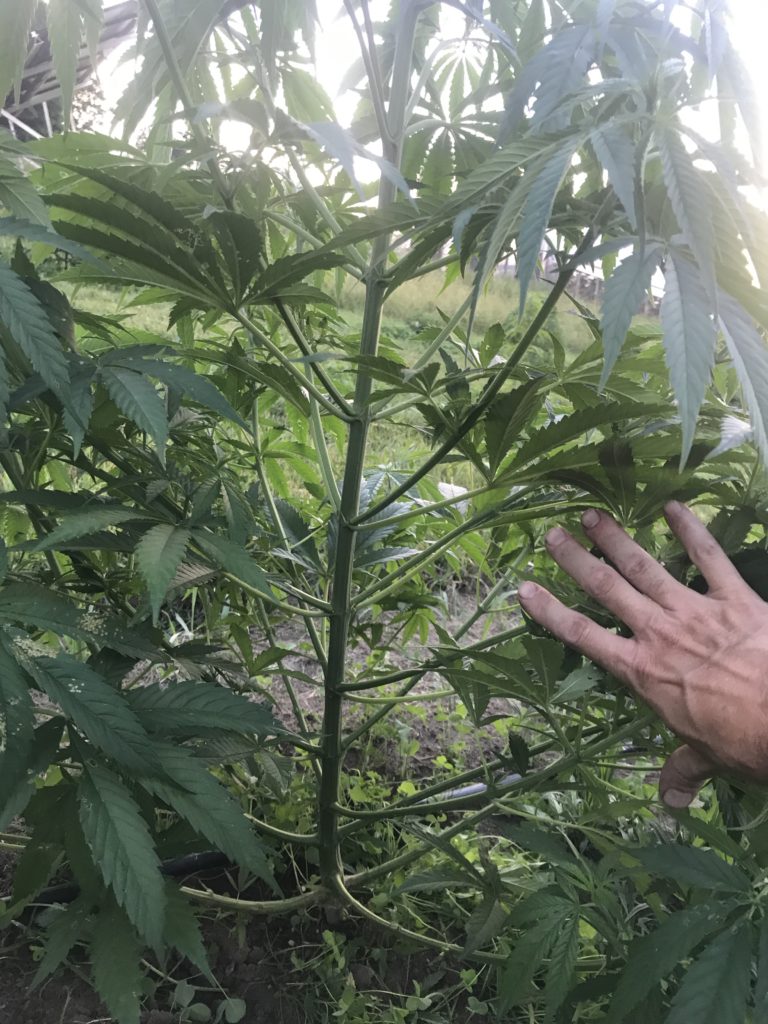
My Big Fat Hemp Project

Here is a post started last fall and never published. I’m going to combine it with this year’s hemp drying experience so it’s all in one spot. Here goes.

2019 POST:

Well. What are we learning this year? Lots.

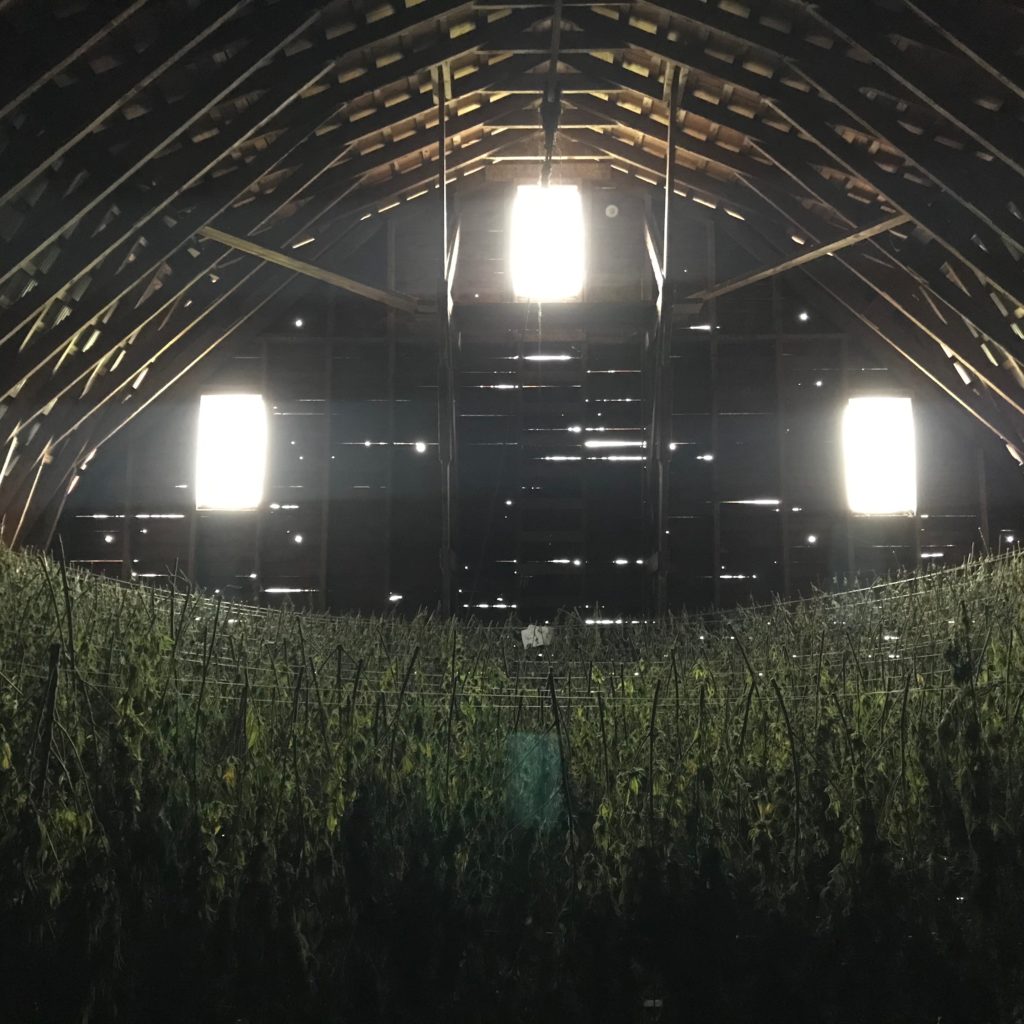
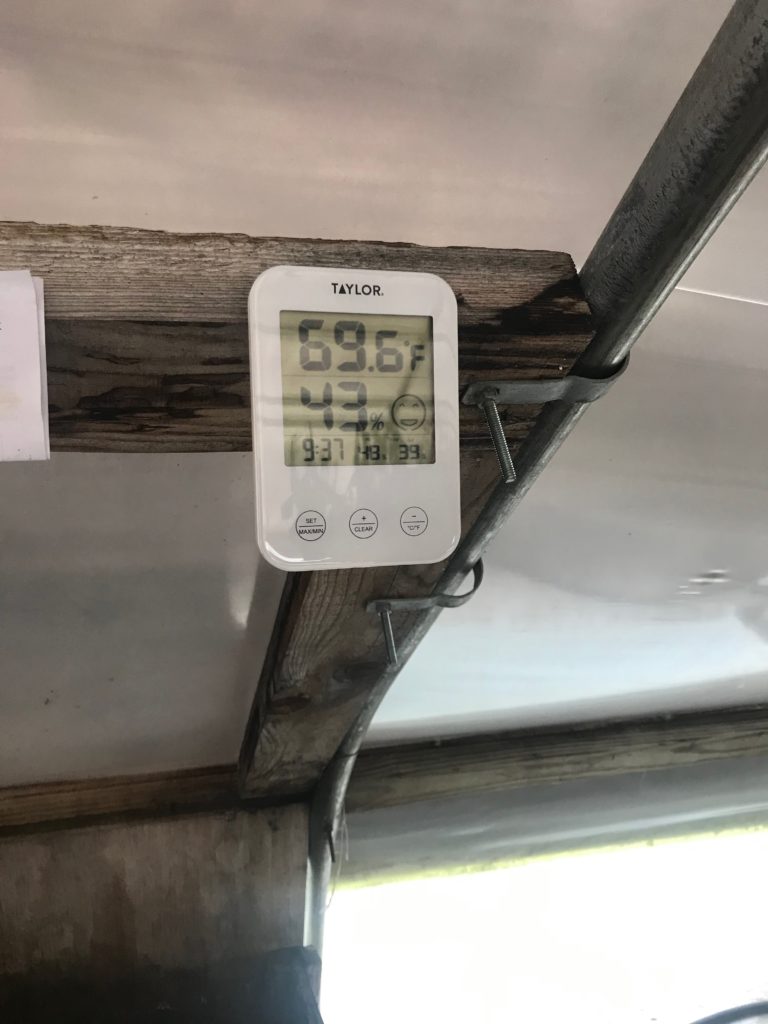
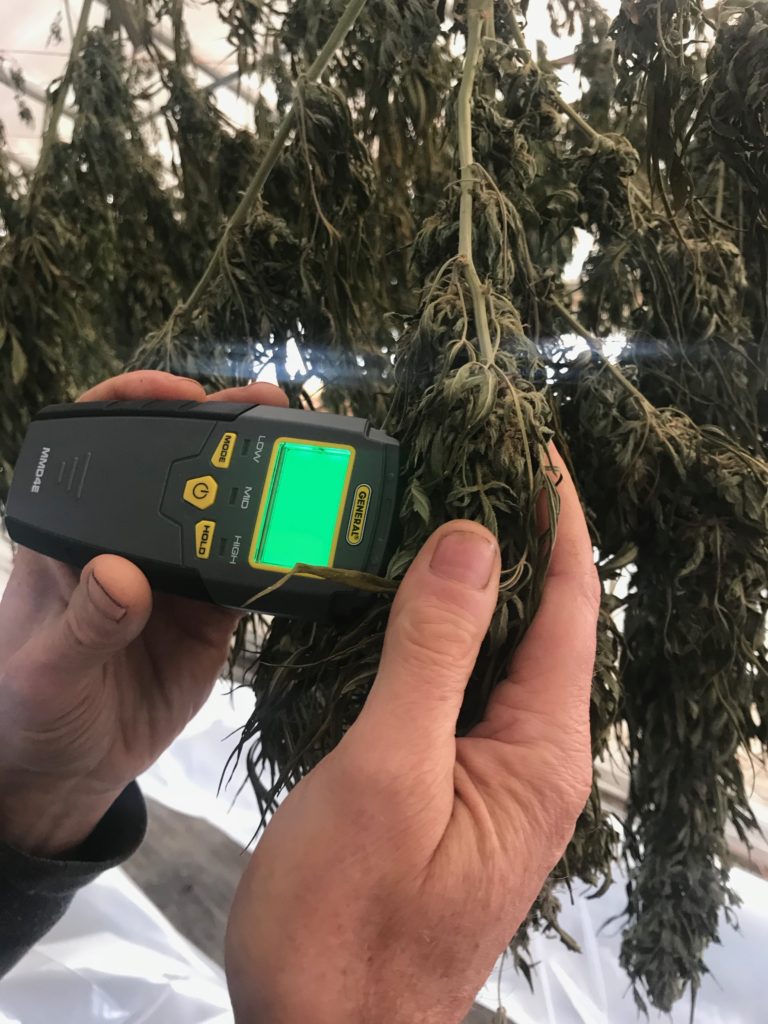
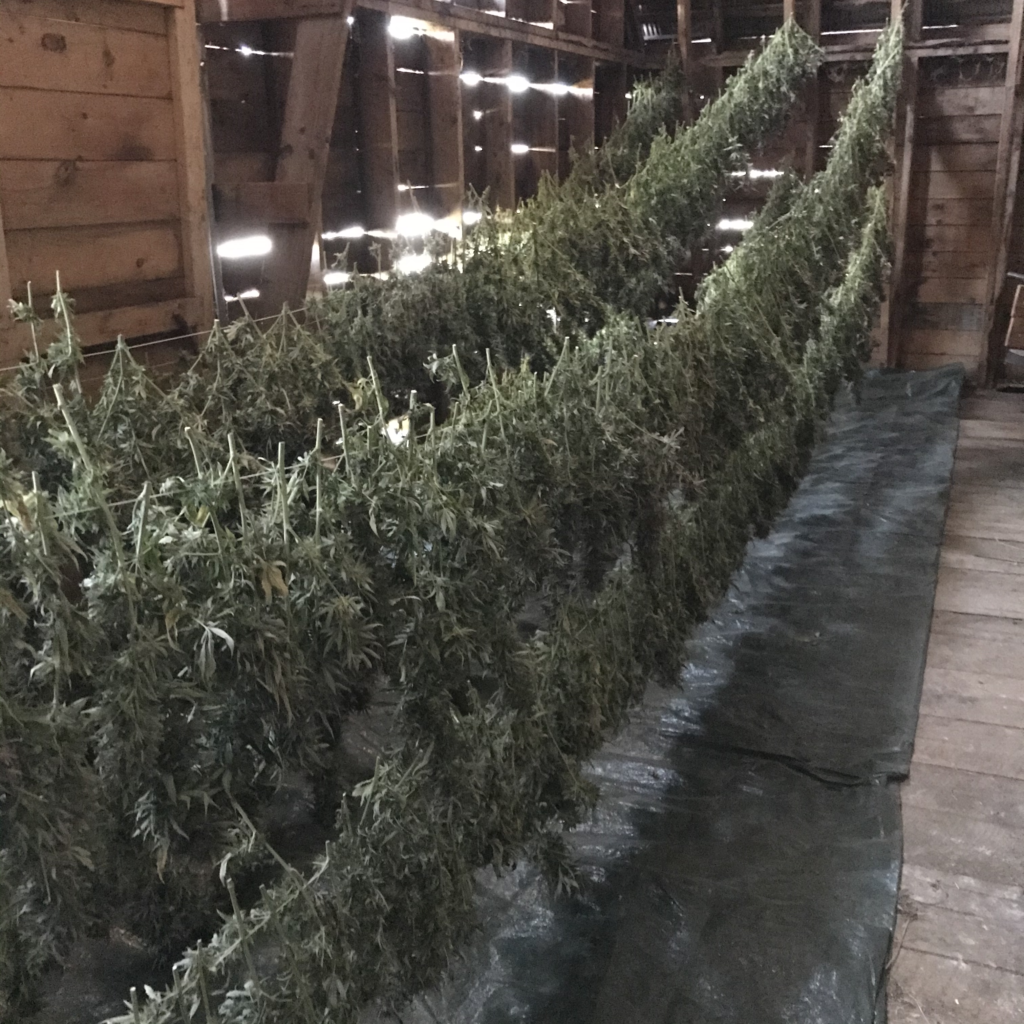
Started harvesting on 9/20, focusing on Suver Haze(one of the 3 varieties I grew this year….genetics…that’s a whole other topic!). Sun-leafed(took off bigger fan/sun leafs) in the field, cut individual branches, then brought into greenhouse to be pre-trimmed, then hung in the barn. After two weeks, it’s almost ready, but not quite. The past week has been pretty cool/cold and rainy/cloudy. Very humid. Read over 50% humidity and you’re just rehydrating the product. Keeping me up at night…will it dry? Will it mold?

Reached out to a well-respected local farm to inquire about their hemp drying method. Turns out they turned one or two of their greenhouses into drying rooms. Covered with 6mil black plastic, temperature at 65F, with the fan set to come on at 75F. Has a few 70-pint dehumidifiers running. Hemp looked great. Drying beautifully.

So I spent the last few days prepping my greenhouse for the same. This required quite a bit of work, but work that would have had to be done, anyways, so it really just kicked us into high gear. I was very lucky to have some great friends and neighbors(and my teenage daughter for a couple hours) come by to help out.

2020 POST:

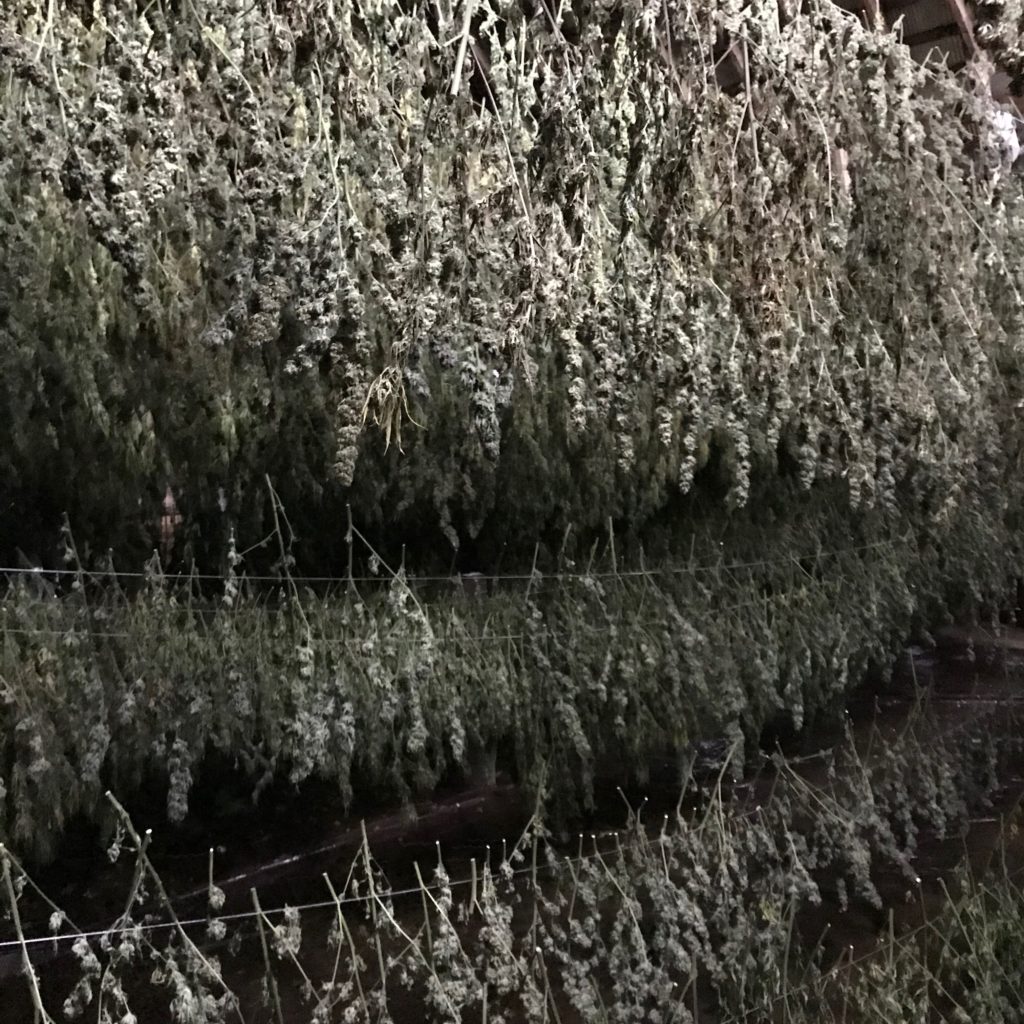
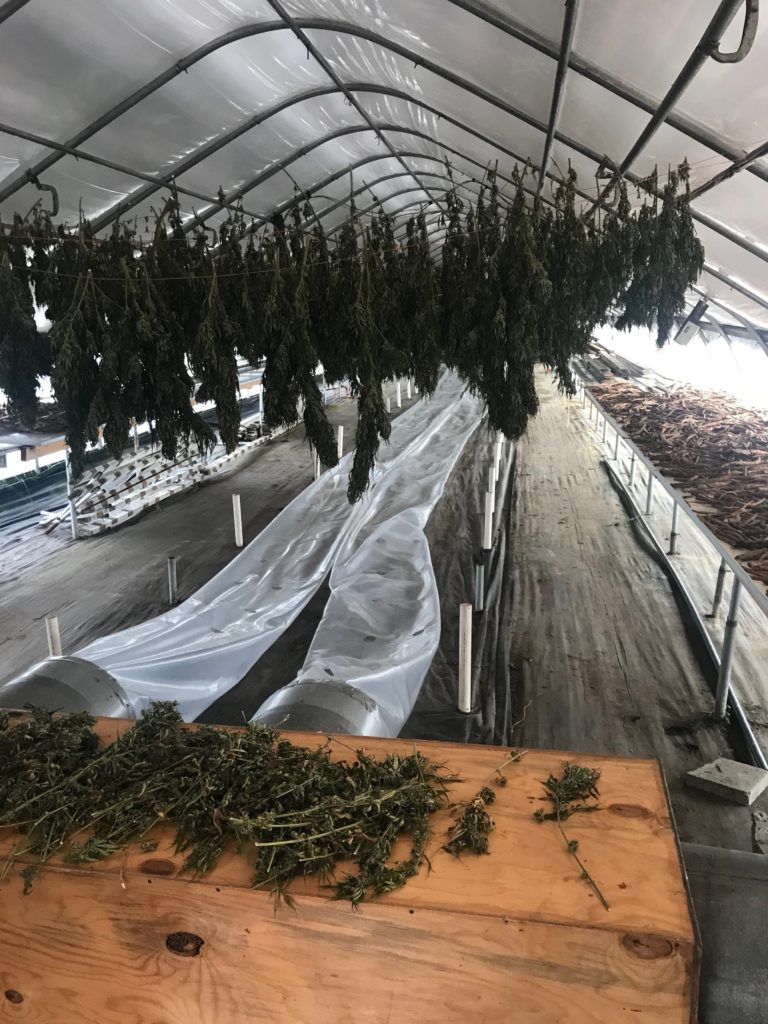
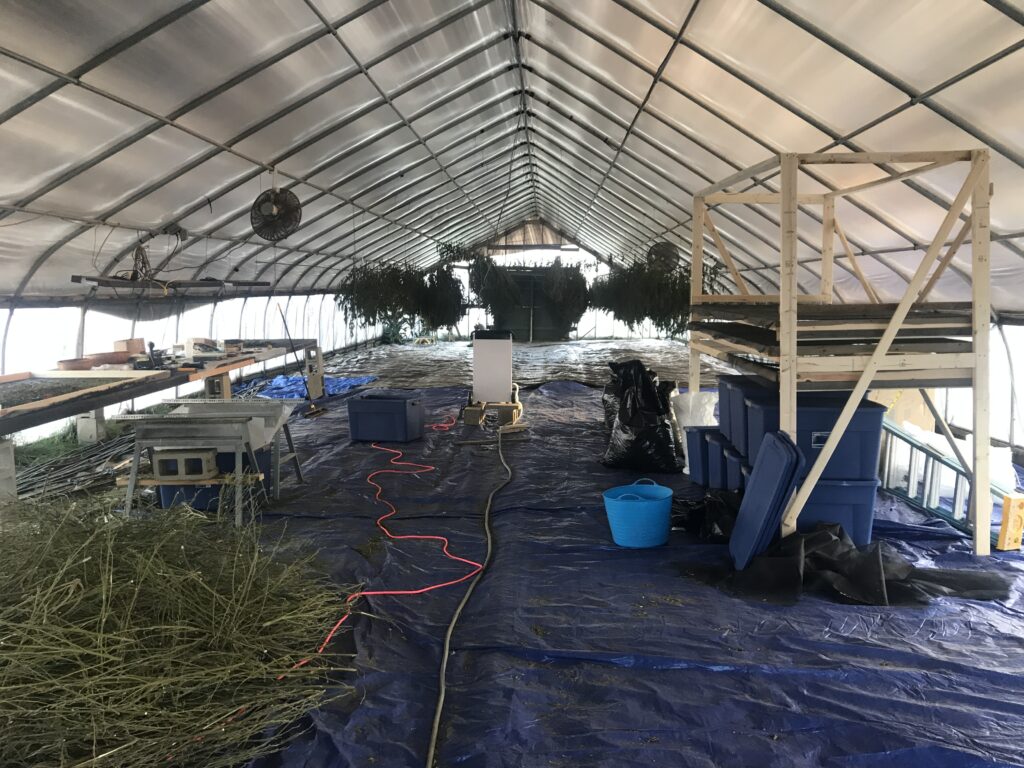
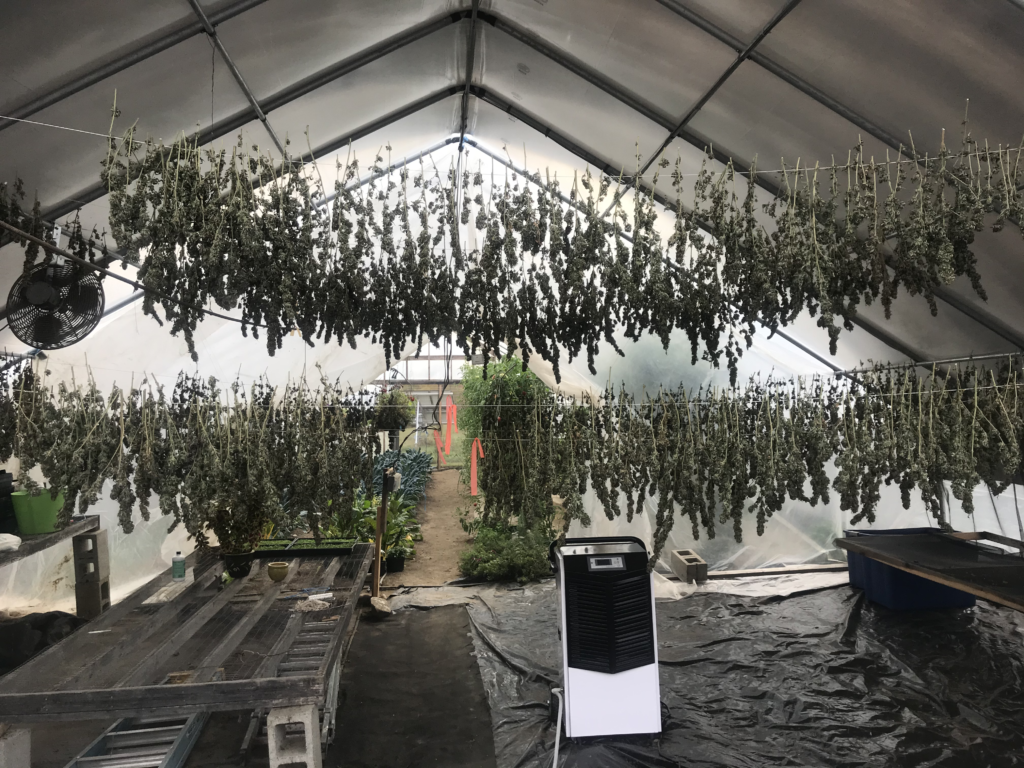
So how did it turn out last year? Great! After a couple weeks in the barn(pictures above), I moved everything into the greenhouse. You’ll see below hemp hung at the far end of the house, a commercial dehumidifier in the middle(white R2 looking unit), a drying rack on the right for what I hoped to be smokeable CBD flower(didn’t work out…didn’t pass the mold test, so had it processed and used for tinctures and salves…the processing got rid of the mold), and a bucking station on the left(sawhorses with blue bin in middle of them). Notice the floor is all plastic. This is to keep the moisture in the ground and not in the greenhouse.

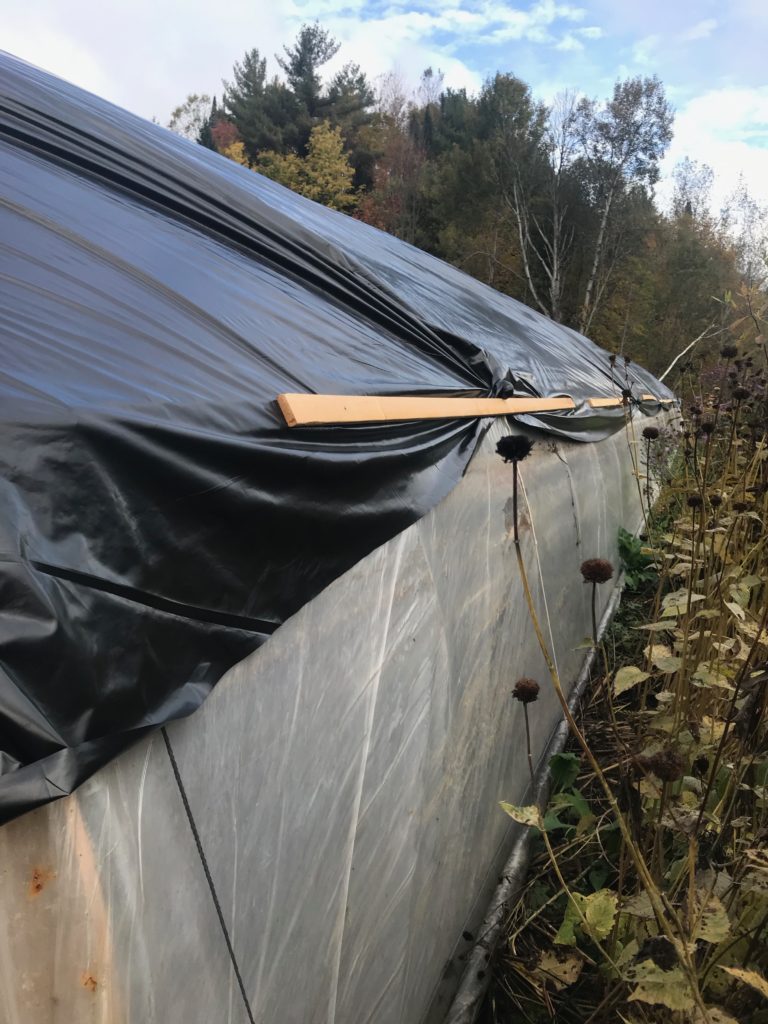
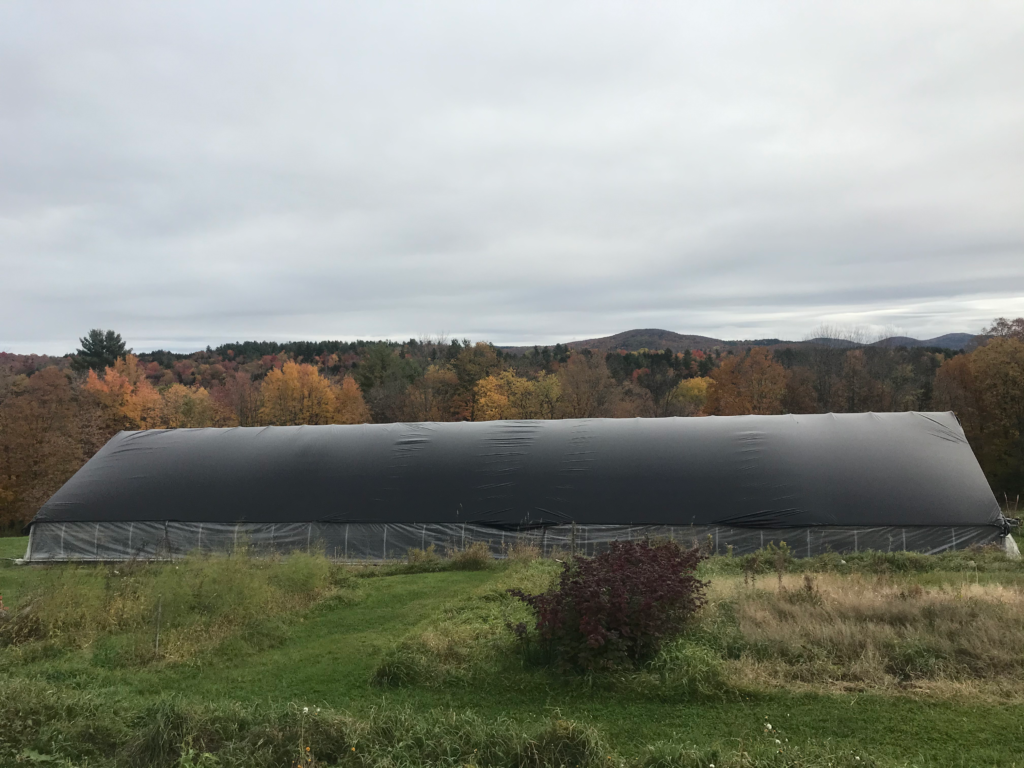
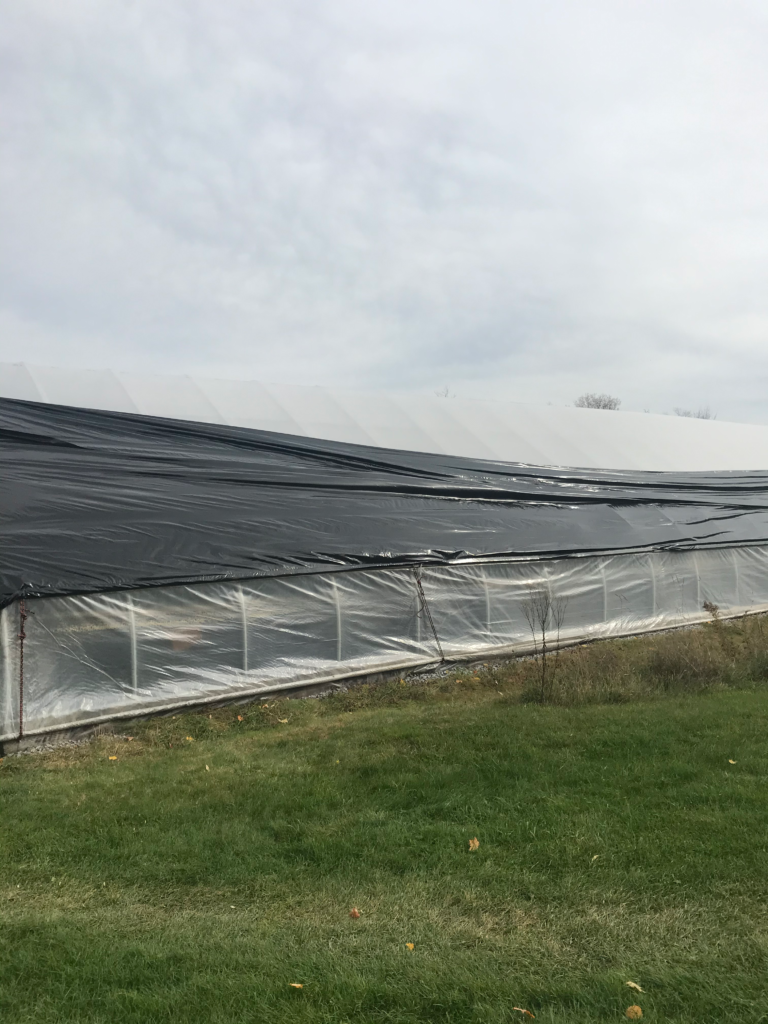
You’ll also see the picture of the black plastic over the whole greenhouse. TIP: if you go this route…don’t deflate the 2 layers of greenhouse plastic, then put the black plastic on. This will make sure you don’t have it on too tight. It ended up ripping horizontally on both sides….couldn’t take the tension, I guess. It’s regular black plastic, not greenhouse plastic. Lesson learned!

Before the rip
Ripped!!

Last year I grew approximately 250 plants….WAY too much. One, I didn’t have a buyer for any of it. Not a huge deal. I had a use for some of it with my own products, but definitely not all. I ended up using the 50 Suver Haze plants for processing into extract for my own products. I ended up with 36 lbs of beautiful dried flower from these plants…very happy!

The other 200 plants were a mix…some produced well, others didn’t. the varieties were BaOx and Cherry Bounce(most were this variety). What I found was that these varieties required more labor to get to the final dried flower product. They grew a lot more branches with less flower than the Suver Haze, which in the end, required more labor to de-leaf, transport, hang, and then buck. These varieties also ended up at about 8% CBD, whereas the Suver Haze came in around 13%. This isn’t to say these varieties won’t produce magnificently for others…they just didn’t for me. I heard that they did well for others. For my money, I’m looking for plants like the Suver Haze…fewer branches producing bigger flowers at a higher percentage. I still have about 90 lbs of the BaOx and Cherry Bounce if you’re interested….

This year, the goal was to grow a smaller number of plants and smother them with love and attention….quality not quantity. Well, that wasn’t exactly how it went down. I planted 55 Lifter plants(another variety from Oregon CBD, same company that produces the Suver Haze). I ended up with about half of last year’s yield…17 lbs dried flower. Honestly, I didn’t test the soil in the spring to determine fertility and pH(big factor in dictating nutrient uptake). I planted each plant in a whole with a shovel of compost and a cup of North Country Organic’s Pro-Gro. Obviously, this wasn’t enough. Last year, I fertilized frequently with Neptune’s fish and seaweed fertilizer. This year, maybe once. Not enough attention. Yes, they’re weeds, but if you really want them to produce, like any plant, it helps to pay attention. I really didn’t. Lesson learned….again!

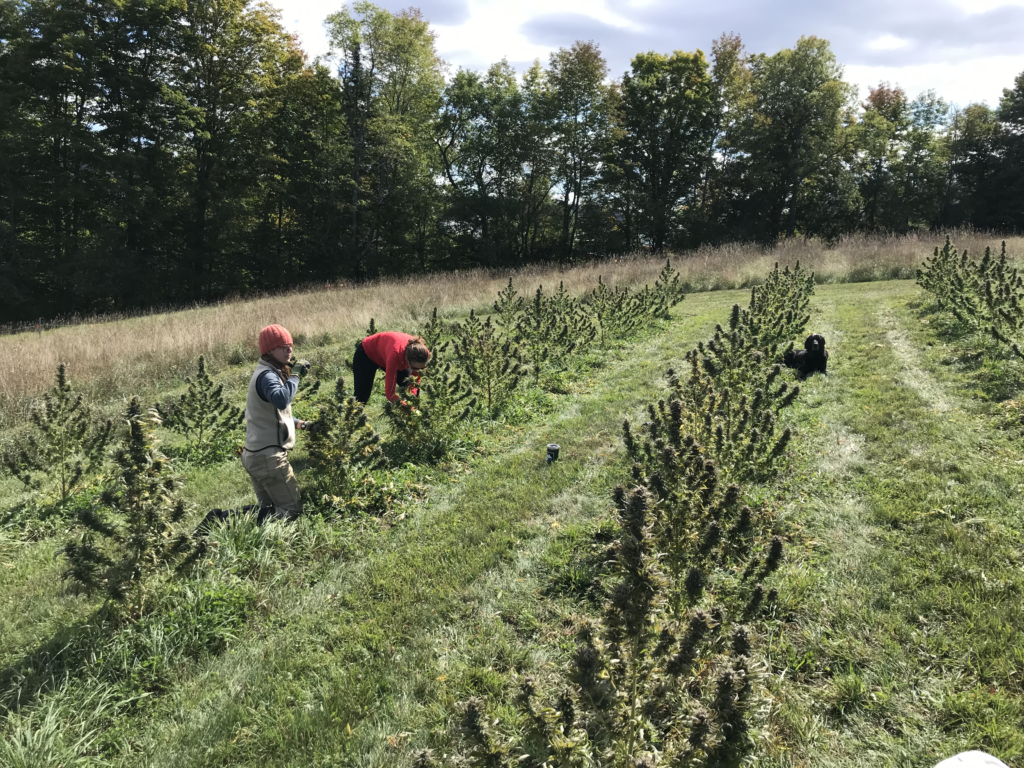
The bright side was that harvest didn’t take nearly as long(15 man hours). Much less stressful. I wasn’t concerned with smokeable flower, so we didn’t trim before hanging like last year, also saving time. So I ended up with less flower, all vacuum sealed ready to be used for whatever I need in the next year or so. This initially tested at 7.5% on 9/11…so that flower was harvested approximately a 10-12 days before that. I’m hoping that by the time we harvested over two weeks later, the CBD content went up significantly. We’ll see. Out for testing as I write this. Here’s a pic from harvest day on September 19th. These plants are half the size they were last year.

This year, we cut the stems in the field, put in plastic totes, and hung in the barn….pretty similar to last year, except last year we ended up hanging whole plants by the end, mostly because we ran out of time to go through the whole de-leaf/cut stem process…this process takes A LOT of work!

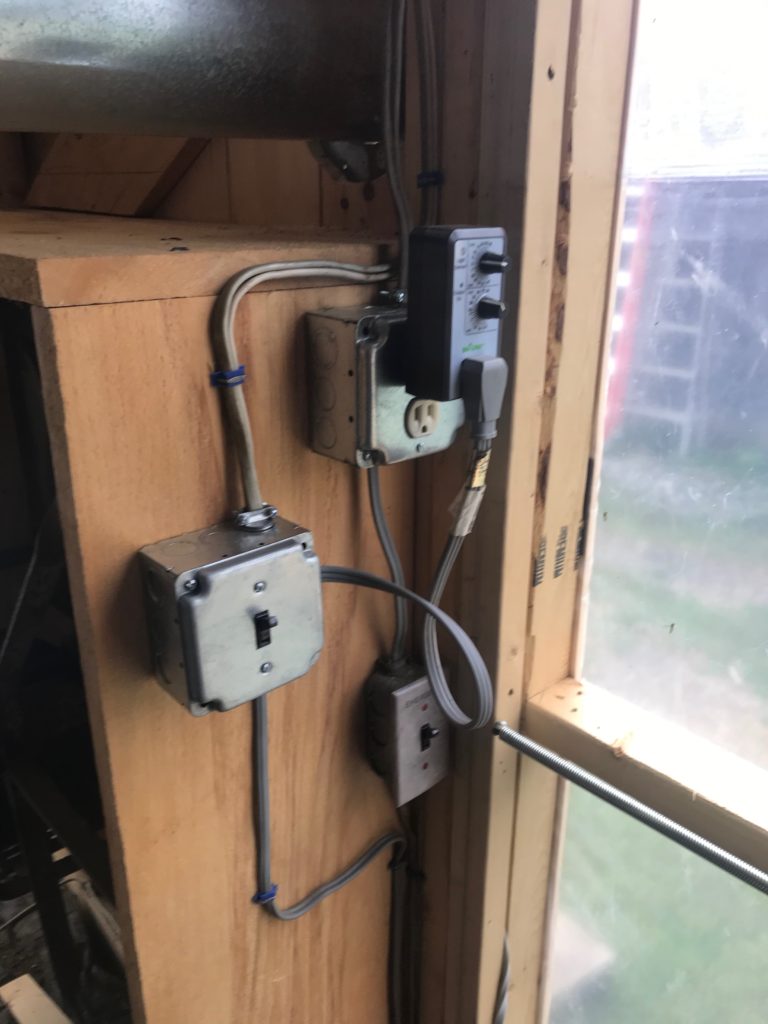
Weather was perfect drying weather for a week and stems were starting to get crackly(when they crack and break they’re done!). After a week, cool damp weather was forecast, so I set up a small section of my greenhouse for drying this time. I put a much smaller piece of plastic over the middle of the greenhouse, and used only this area for drying. I put plastic down the middle of the greenhouse, since I had plants still growing on the other end, and trying to dehumidify with bare soil exposed is pointless and a waste of energy. I basically tried to create the front half of the greenhouse as my drying chamber. During sunny days, I opened the sides and had the exhaust fan come on at 75 degrees. At night, I closed everything up and kept the heat at 65 with the dehumidifier on. Within a week, everything was dry.

2020 Hemp Drying in Greenhouse…see the kale in the background?

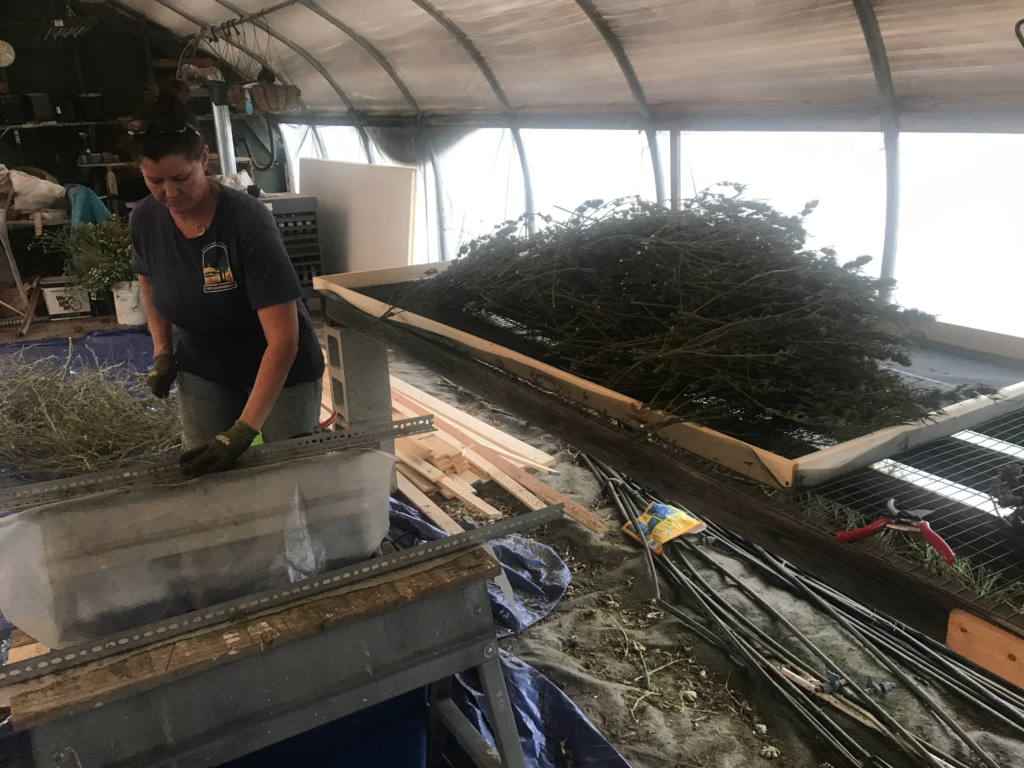
Didn’t take too long to buck it up using my custom design Mother Bucker…

Good help is hard to find…except for me. This woman ROCKS!!!
The Mother Bucker! Stems pulled through the holes; flower falls into tote!

Overall…more learning experiences which is good, a decent little harvest which will turn into something(Root 7-9 CBD product or sold to…someone).

An interesting note: I sold CBD starts to Montpelier Agway and some others through private sale, and the word I got back was that these plants THRIVED for other folks….huge!! So it was definitely me. Not the plant. Oh well. Looking forward to next year. Stay safe and be well! Love each other, kids. The world needs it.

Hemp Irrigation

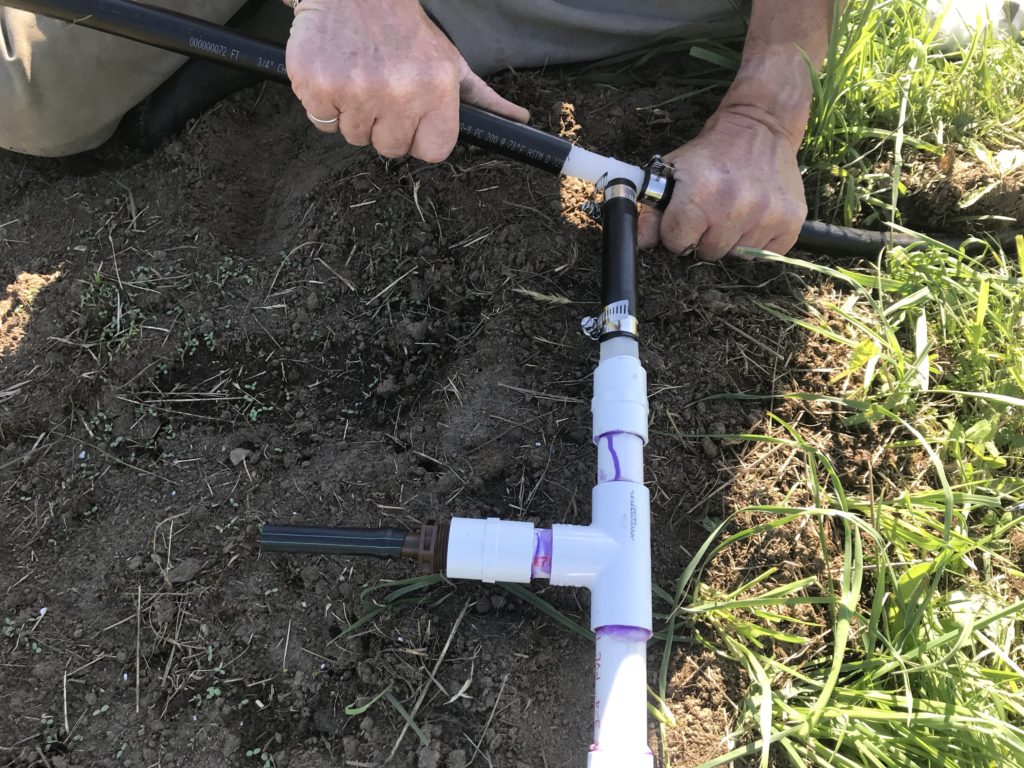
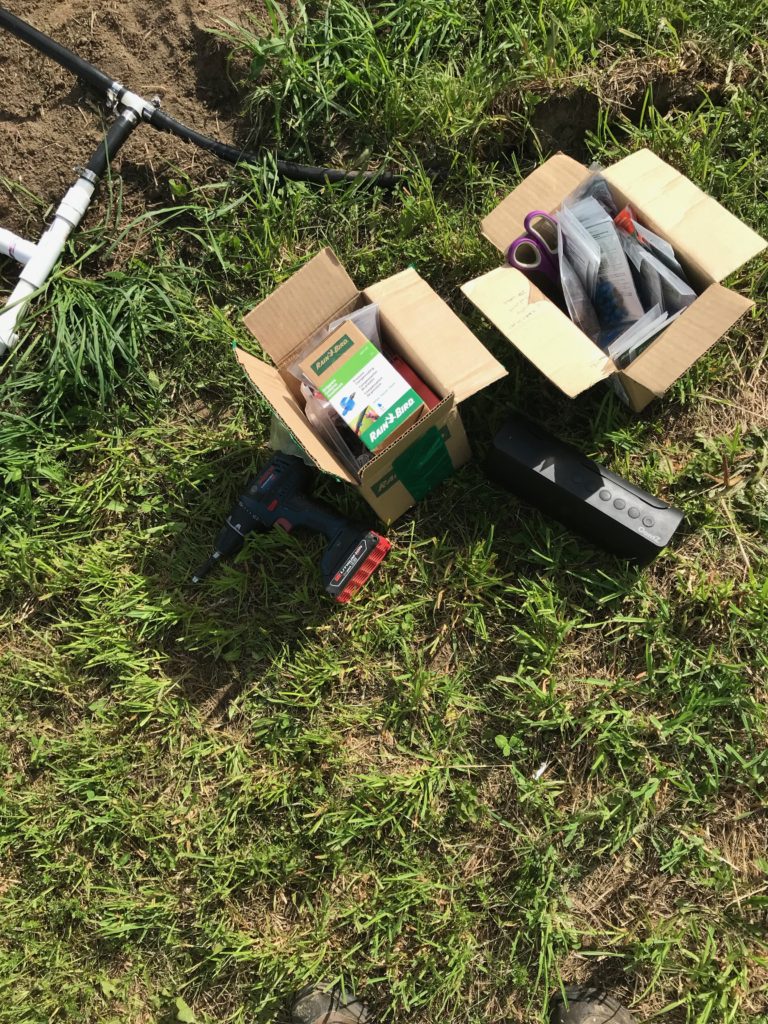
Spent a couple hours last night starting to figure this out. Got off to a great start! My very first fitting that I glued was wrong. Right out of the box! Spent about 20 minutes on the phone with my friend who’s guiding me through this process, and today I need to pick up the rest of the pieces and get cracking! I have (24) 4′ x 50′ beds. Planning on running 3/4″ poly pipe the length of the greenhouse, then out. Last night I spent about an hour burying the line to the first group of beds. Only put it 3-6″ deep, so cars, tractors, mowers could drive over it without issue. Not sure how the PVC that will head the beds is going to work out. Not planning on burying that. We’ll see.

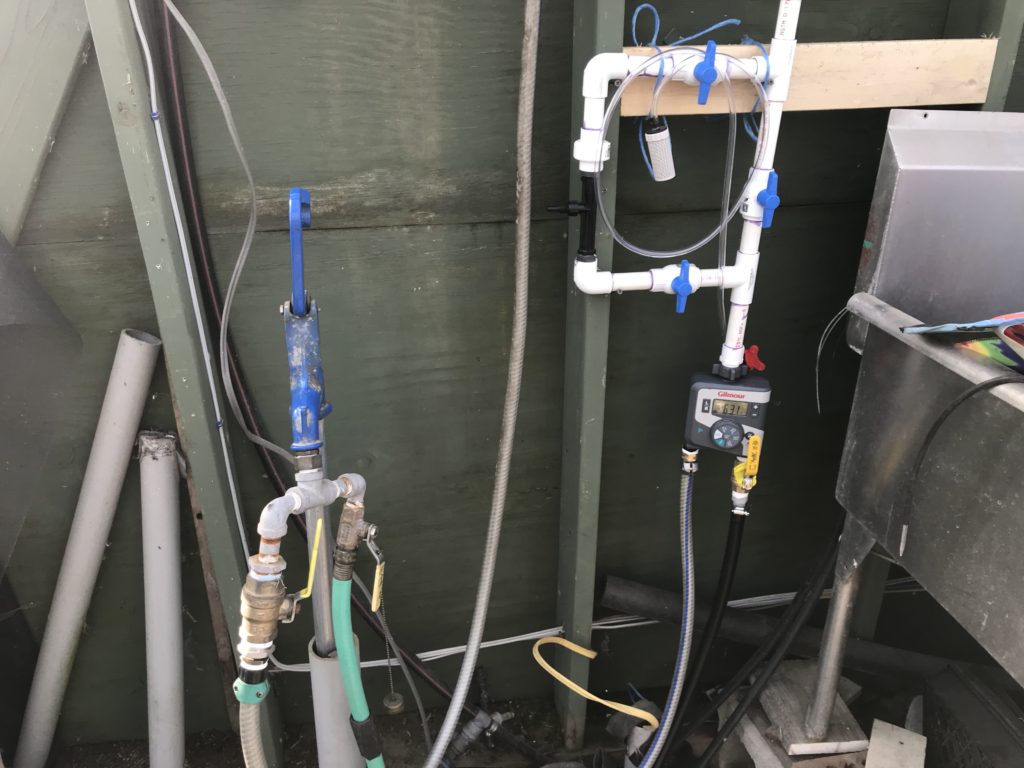
OK. Here’s a picture of the fertigation element loaded in the greenhouse.

(this caption appears in another post…but in case you didn’t see it…)The clear tube with the white syphon is now attached to the nipple to the left of the black thing(injector 1/2″). Actually, I had to downsize the fittings on the top of the injector to 1/2″ from 3/4″ to increase pressure to increase draw to siphon the fertilizer. Could probably bring the injector down to 1/4″ so I could just run the hemp, but haven’t tried that yet.

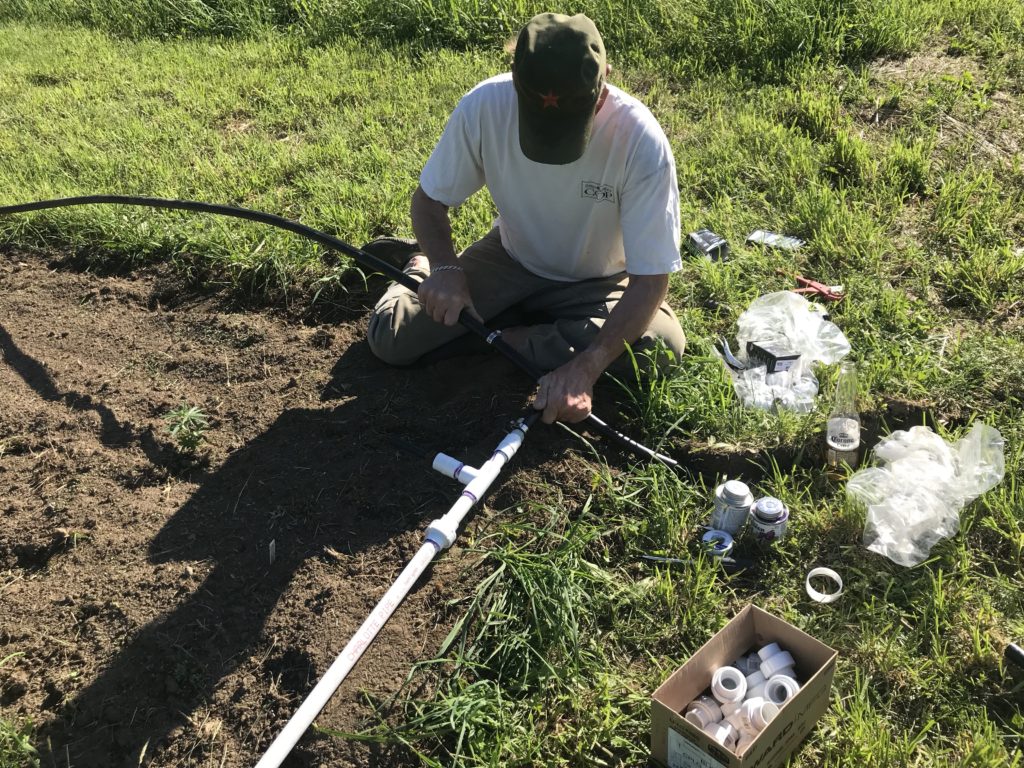
Spent a couple hours with Brother Jophus on June 10th connecting the A bed pvc together.

Before I go any further, I just have to say that I could never have accomplished everything I have in the last 10 years on this property without the help of SUPER-kind friends and neighbors. Many with skills I don’t or didn’t possess, but many just willing to be a warm body with an extra pair of helping hands. That contribution has been absolutely HUGE! I have nothing but immense gratitude for these efforts…THANK YOU!!!


Love this guy!!!

Spent another 4 after that by myself doing the same on the other side, bed B(I need better names, right?), then another 2 hours installing drip lines and injectors every 5 ft(more or less…).

All in all, I’d say about 16-20 hours installing the drip system, including trips to the plumbing supply place(buying local when possible), time on the phone with my irrigation guru(namaste), time researching online, and time just scratching my head saying,”What the heck do I do now?” All in all, I’m extremely proud that I learned some new skills and can sleep better at night knowing that I have a system set up to irrigate my plants should they need it. Hey! I’m set up to irrigate 250 plants! Feels pretty good!! To date, we’ve had some pretty dry stretches and I think my plants look pretty dam good if I don’t say so my dam self.

And when it was done…there was much rejoicing!

Hemp 2019

Midway through the 2019 season and wanted to get an update in, again, for my sake as well as anyone else that may have an interest.

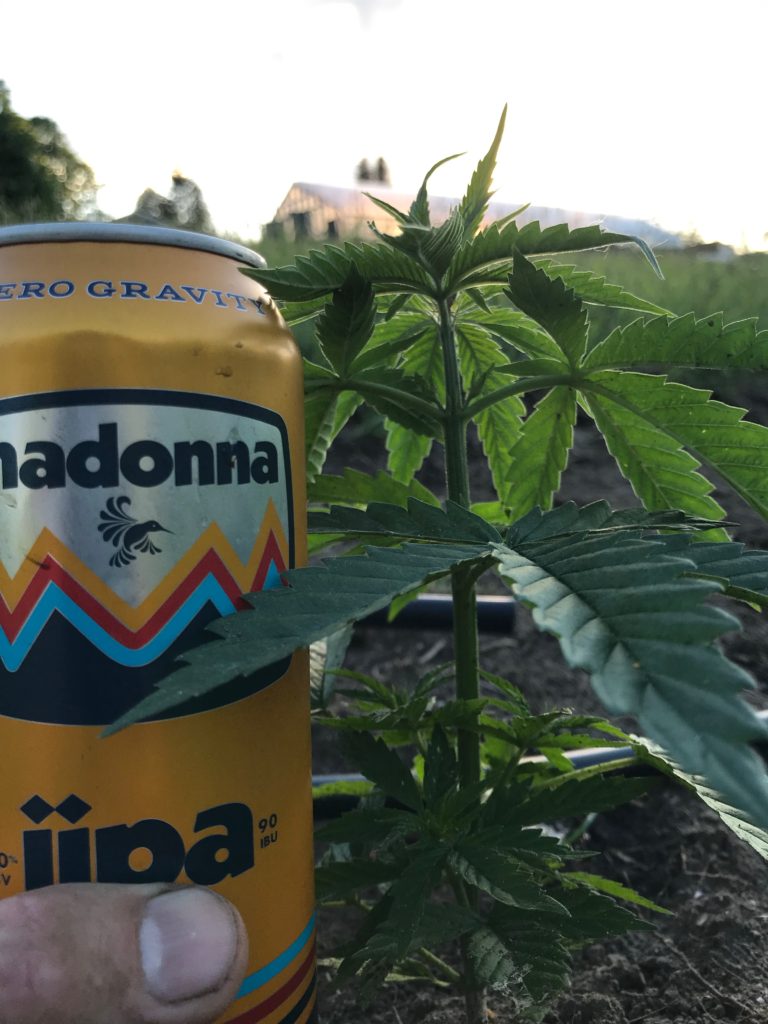
So I haven’t counted, but I probably am looking at around 220 plants or so. I wanted to plant 250 but a bunch my Cherry Bounce didn’t germinate(around 10%), then another 10% came out deformed. I bought a tray of 50 Suver Haze from Howard Prussack and planted probably a couple dozen BaOx from a tray of 72 I bought off VT Hemp Nursery. The BaOx I sexed myself so I hope I did a good job…so far they look like females.

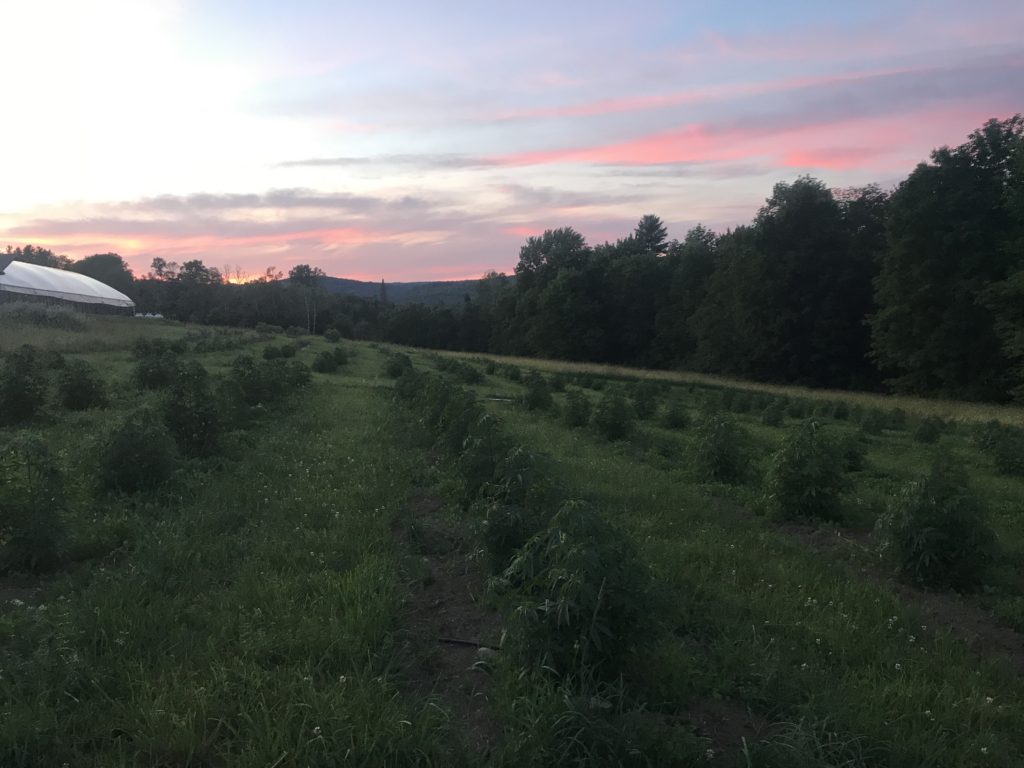
Here’s what the field looked like the other day.

Week of 7/8/19…excuse the shaggy appearance(has since been mowed!)

Fertilization-

To this point, I’ve fertilized twice with Neptune’s Harvest Seaweed Fertilizer and twice with Soil Balance. I’ll feed four more times, roughly 2 weeks apart. This Soil Balance product is a microbe tea concentrate, OMRI listed so approved for organic farming. Supposedly this contains microbes specific to hemp plants, designed to help the plant absorb and process nutrients more efficiently leading to higher CBD oil yield. It was recommended that I feed 3 times during the season. Price was around $150. I bought twice as much and will feed 6 times. Completed second feeding on Saturday. Mixing 16 1/4 teaspoons/4 teaaspoons(16 grams) with about 4 gallons of water, taking about 30 minutes+ to drain it. To create enough draw, I have to keep the greenhouse drip on, as well as the hemp, so I’m fertilizing my greenhouse plants, too. So maybe the hemp IS getting the 3 feedings, if one were to assume the feeding is split between the two systems. Here’s what my irrigation/fertigation system looks like.

The white thing with the clear tube is now attached to the black nipple on the left side of the loop. Below is a programmable timer able to program two systems separately, so the black 3/4″ pipe goes to the hemp field, and the hose connects to the greenhouse drip system. I’ve had the greenhouse on for 1/2 hour at a time twice a day(5:30am and 5:30pm), and the hemp on once a day(5am).

Pruning

Started pruning last week. Not sure if I’m doing it right on a few levels.

ONE, what to prune? Basically, I’m drawing on what little knowledge I have of pruning tomatoes and blueberries, taking out inner growth growing towards the middle and some of the fan leaves in the middle(these will die off anyway). I’ve searched online for info/videos/tutorials on pruning hemp grown outdoors…I haven’t found anything, yet. Only thing that seems to be out there is pruning indoor grow rooms.

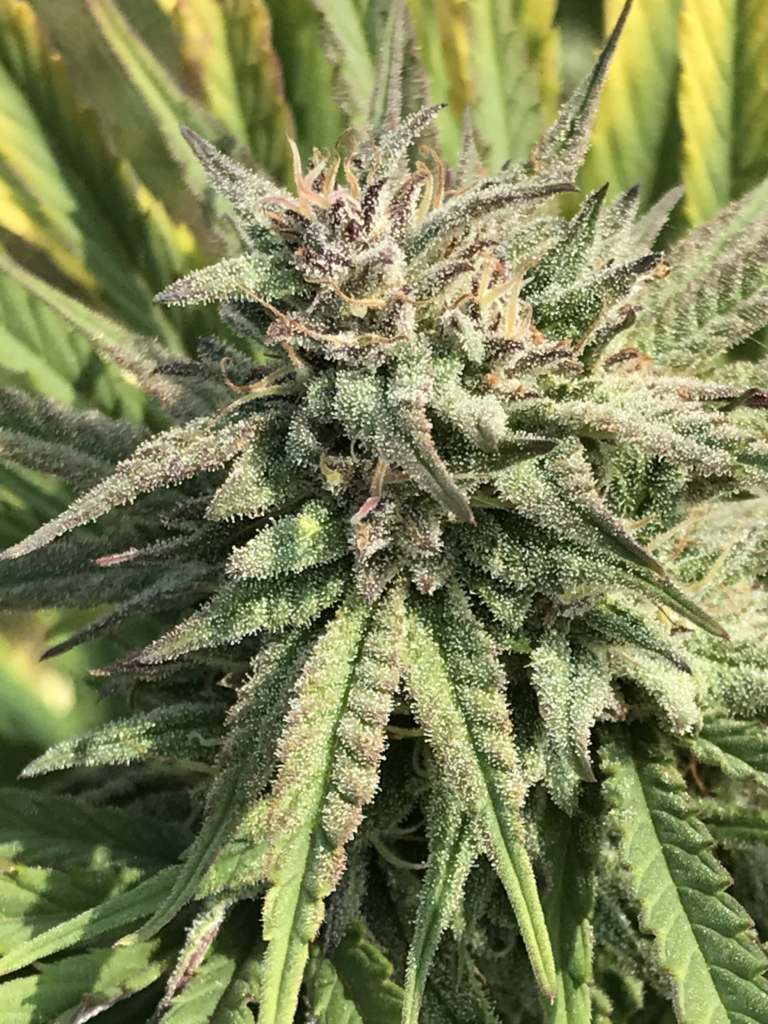
Something I did pick up which made sense was that indoor grow rooms need to be pruned more because the light is only coming from above. Outdoors, the sun is hitting all parts of the plant, so the foliage in different parts of the plant is being used to capture that precious sunlight. I used this tidbit to get me to temper my pruning efforts so as not to remove too much. Someone threw out 10 percent. I’m probably getting around 15. I actually set my timer on my phone for 5 minutes at first, then worked down to 3, to give myself a time limit for a couple reasons. One, to measure the efficiency of the job for the future. Two, to make sure I don’t sit there for an hour and take off too much. All in all, most plants at this point were able to be thinned out in 3-5 minutes pretty easily. Here’s a picture of one that I HOPE comes out alright.

Method(correct? Who knows. Not me!): Taking out lowest 2-3 branches-they seemed to collect ground gunk in the buds a bit last year), inner fan leaves are removed, growth removed up to 4th node from the end of each branch.

TWO-When to prune? Supposedly according to some sources, up to two weeks into flowering. When exactly is the plant flowering? I thought this was pretty vague until the other day when I was pruning and came across a plant that was pretty obviously flowering, but still, if you can just see a few hairs, is it flowering? Then…is every variety different? The folks who claim to know will tell you that. I think I’m on safe ground. Not sure if I’ll prune any more. Looking at the plants in the greenhouse, I see a bunch of inner growth that I’d like to get out of there.

Here’s my theory-seemed like last year, that inner growth made processing(removing leaves, cleaning flowers) take a bunch longer. I’m hoping that by removing the smaller inner branches and potential spots for “popcorn” buds, I’ll end up with bigger flowers on the ends of the branches which will take less time to process.

Farmaganza 2017!!

First and foremost…for those of you who don’t know, today is the 40th anniversary of what is perhaps the Grateful Dead’s most famous show, played on this date in 1977 at Barton Hall at Cornell University.  If you’re a Deadhead, you know it.  If you’re not, you might like it.  Either way, I feel compelled to honor this hugely influential music and share a track from this show.   This tune is what many consider to be the highlight of the show: the Dead’s version of a tune about the aftermath of a potential nuclear apocalypse.  It’s heartfelt, sensitive, and gut-wrenching, not to mention blistering and scorching enough to ignite a fire in your soul you may not have known you had.  If you have fourteen minutes to kill, check it out…

Well, another spring is at our door and once again I’ve got my running shoes on, sprinting around to get plant seeded, potted and properly loved.  And once again, I walk in the greenhouse and am just tickled by what I see…I love it!  Then again, everything is healthy and happy right now.  We’re in the middle of a pretty long stretch of cool(and even cold), rainy weather, so we’ll see how healthy and happy things are if we don’t see some sunshine sometime soon.  Last year I ran into some downy mildew on the cucurbits(squashes and cucumbers to the lay folk out there) which I was able to combat with a simple baking soda spray to keep it from spreading.  This year I have added two extra circulating fans to keep the air moving and hopefully avoid any such issues.

But enough about that, I’m here to talk about FARMAGANZA!!!  I decided to team up with my neighbor, Laurie Colgan, and her farm, Knob Hill Farm, and throw a party celebrating agriculture, community, music and food.  Good stuff, right?

When?  Saturday May 20th.

Where?  Knob Hill Farm 338 Johnson Rd in Marshfield(next road up from ours)

Who? Knob Hill will be selling their grass fed beef and grilling up burgers.  We’ve been buying beef from our neighbor, Laurie, for years now and love it!  We usually split a half of a side with someone else, which gives us a fine amount of various cuts to last us almost a whole year for our family of four.  She’ll be taking orders and selling frozen packages.  Here’s a link to her Facebook page:  https://www.facebook.com/KnobHillFarm/

I’ll be selling my veggie starts and hanging flower baskets.  Man, this picture would look so much better in the sun.  Does anyone know where it is?  As usual we have everything from herbs, all kinds of vegetables including some heirloom tomato varieties, and a smattering of flowers.  The hanging flower baskets are grown from non-organic plugs, but raised like good little organic plants since we received them.  Every year they fill out beautifully once summer really hits!

Ed Smith will be there dishing out gardening advice and signing books from 10am to 2pm. For those of you who don’t know of Ed, he’s a local legend who lives a couple roads over and authored the book, The Vegetable Gardener’s Bible.  Here’s the link if you want to buy the book and support Ed: http://www.barnesandnoble.com/w/the-vegetable-gardeners-bible-edward-c-smith/1114305951 

We’ll also have another local farm, Flywheel Farm, in Woodbury, Vermont.  Word is they’ll have some dried herbs, veggies and beans, and possibly some fiddleheads…yum.  Here’s a link to their classy website: https://flywheelfarmvt.wordpress.com.  Great folks!!

Add to this a couple inspiring women giving chair massages, maple syrup, some kid’s activities, face painting, and most likely some bonafide farm animals for the kids to check out.  We’re also still gathering potential vendors, so who knows who else will show up!

There will also be music from two local Montpelier-based bands: The Parakeets and Pistol Fist.  For those of you unfamiliar with either of these bands, The Parakeets: https://www.facebook.com/parakeetsband/ )do a fabulous job of putting their own spin on your favorite doo-wop tunes of the 50’s and 60’s.  Tons of fun!  And Pistol Fist: https://www.facebook.com/PistolFist/ )will be performing their original music tailored to the country atmosphere of the authentic Vermont dairy barn they’ll be playing in.  We can’t wait to enjoy both of these groups!!

Feel free to bring the beverage of your choice and stay for a while to enjoy the company and the music!  There’s a Facebook page with information for FARMAGANZA: https://www.facebook.com/Celebrate.Local.Agriculture/,  or feel free to send me a message or email.  Hope to see you there!!!


Mid-Winter Report

Well!! I need to get into the habit of adding a few more posts to this puppy.  If not for those out there in cyberspace who are trying to “follow along,” but for myself to have a history of what’s going on.

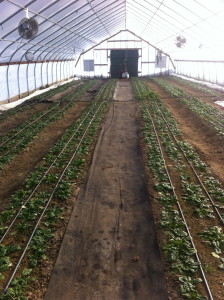
So here at the end of February, things are great, I would say.  The spinach is looking really good in the greenhouse.  Today was about 50 degrees and the next few days look about the same.  I turned the drip system on this afternoon for probably about 4 hours.  Maybe the 3rd time I’ve watered the spinach since November or so.

Just harvested about 25 lbs earlier this week and could easily pull out another 25 right now.  Hoping the total yield for the winter will be greater than past years, as I’ve widened my beds (4ft) and narrowed the walkways(1ft) to make way for more spinach.  We’ll see how it goes.

Had a nice compliment yesterday that my spinach tastes sweeter and better than another local farm.  The exact reason was that the other spinach tasted/smelled like fish….probably fertilizing with fish emulsion.  That has been recommended to me in the past by more experienced farmers who understand that plants aren’t absorbing as much nutrients from the soil this time of year due to the cold and lower microbial activity, so it makes sense.  For no other reason than, I forgot, I haven’t fertilized and lo and behold my spinach won the taste test!  Hopefully I have taken good enough care of the soil with the proper ammedments that I don’t really need to fertilize, or can at least get away without and keep producing delicious, sweet spinach.  I’ll roll the dice.  It looks good!

So look what showed up today….

Turmeric and Ginger for 2017!!

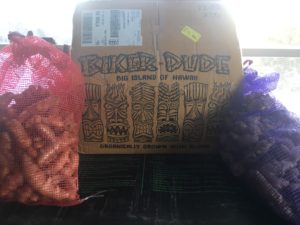
I ordered 10 lbs of ginger(this year the variety is Blue Bubba) and 10 lbs of turmeric.  This will be my first year with this ginger variety and the first year with turmeric.  I know turmeric is hot right now, so I don’t suspect I’ll have any issues getting rid of it.  I imagine it just be a matter of producing enough to make a decent profit.  Last year wasn’t so hot.  I made a little on the ginger, but the yield was about a third of what I was hoping.  I need to be diligent about my feeding this year…both of these are heavy feeders.  Planning on getting a soil test done in the next few weeks while the ground is thawed out enough to get samples.

I’ll get this into trays and covered with potting soil(Fort Vee) today or tomorrow, and probably get a few herbs started.  Let the games begin!

Very excited!

Rock on!

The games begin again…Early Greenhouse Cucumbers

IMG_1367

Here we go, again!  Another spring on its way and we’re growing plants!  Of course, all this stuff is in the greenhouse at this point.  We’ve reclaimed our living room!!

Got some things started early February with ginger, then ghost peppers,lemon grass and leeks a week later.  Turns out the leeks were way too early, but I’ll hopefully just sell them a little larger.  They’ve been in the greenhouse for the last few weeks, covered with a piece of plastic on really cold nights in the beginning, but nothing for a while now since the heat is on.  They look good.

Only a half dozen or so ginger seeds have sprouted by this point.  We’ll see what happens.  I’m sure they’ll be fine.  They still have another two months before they can go into the ground.  I have the heat mat set at 80 degrees.  I’m trying 15 pounds of seed this year up from 10 last year.

This past Sunday we had an amazing work party with our family and got both yellow storage and red onions transplanted: 1500-2000 each!  Very tedious.  We also transplanted a bunch of the tomatoes that will live in the greenhouse in a few weeks, hopefully.  Trying a couple greenhouse specific hybrids this year: Sunkist and Lola.  We’ll see how they do.

Now to the cucumbers.

This year I’ve attempted early season greenhouse euro-type cucumbers.  I seeded them on 3/7.  At this point, I planted 50 and they are not doing so hot.  But let’s back up a bit.

I did my due diligence as a steward of the soil and got myself a soil test early this winter.  This was not the first time I had my soil tested in the greenhouse, but it WAS the first year it was made known to me that there is a different soil test for the greenhouse than the field.  Makes sense, right?  Totally different set of factors at work.

With my soil test came recommendations, which after consulting a couple sources turned into, per 1000 sq ft.:

1 cubic yard of compost, (2) 3.8 cubic yards of peat moss, 50 lbs soy or peanut meal, 25 Bone meal, 20 lbs sul-po-mag, and 1 lb Azomite for insurance.

I figured 1/4 of the greenhouse was close to 1000 sq ft, so I applied the appropriate amount of each of these puppies.  I then broad forked the beds, which I was very excited about.  I’ve heard too much about how the rototiller causes a hard pan just below the bottom end of the tines.  It took me 15 minutes per 50ft row…much less than I expected.  For those who don’t know the purpose of a broad fork, in this case it is useful for aerating and loosening the soil.   I love the idea of improving the quality of the soil.  Create optimum growing conditions.  That’s the goal, right?
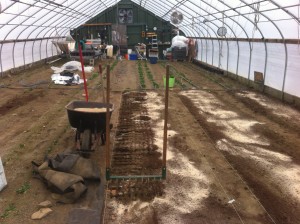
IMG_1345

Broad Forking in Fertilizer in new beds

I should also mention that I was advised by smarty farmers with experience that my beds should be bigger than they were.  So I resized my beds to 3′ by the sides and 4′ for the inner ones.  This made my aisles smaller, but still quite passable.  This will probably come in most handy in the fall when I plant spinach and can plant 4 or 5 rows instead of only 2.  But that’s a ways away.

Next I added 1 yd of compost to my cucumber quarter, which is twice the recommended.  I didn’t think I could go wrong with more compost, but apparently I should be wary of adding too much, even with compost.  The benefit of compost is that the elements in compost are released slowly.  I then hoed in the compost, laid out my drip lines, and covered with solar mulch(groovy dark plastic from Johnny’s), which supposedly will heat up the soil 10 degrees.
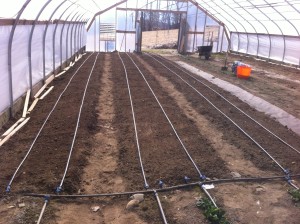
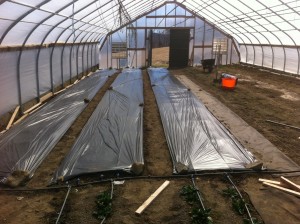
IMG_1352IMG_1353

Next, I hung a 100’x16′ sheet of 6mm plastic the length of the greenhouse, so as to keep the heat all on one side and save on propane.  This was fun.  I put two pieces of gorilla tape on top of each other every few feet or so on what would be the top of the plastic, and punched a hole with a cordless drill(last time I did it with a pocket knife….WAY easier with a drill!), and fed a short piece of scrap bailing twine through the hole, with which to hang the plastic from the center ridge pole of the greenhouse.  This all took a couple hours anyways.
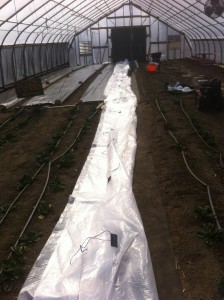
IMG_1363IMG_1364IMG_1365

This past weekend came the seeding.  I had been monitoring the sole temperature all week since I’m told cucumbers are fussy about soil temperature, more so than air temperature.  When the sun was out, the soil temp was close to 80F degrees at times.  When  I checked in the morning, it was down to close to 50.  But that was with no heat on.  I consulted with the Johnny’s folks and they seemed to think that the ground temp wouldn’t fluctuate as much with the heater on.  Go ahead and plant!  That’s really what I wanted to hear,  so I did……..over zealous young farmer that I am.
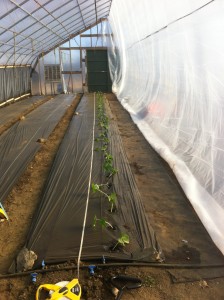
IMG_1371

Planted 50 good looking Tyria cucumbers this past Saturday, 3/26.  1′ apart.  Ah, they were so happy.  It filled my heart with joy to see them sitting there in their cozy new homes, surrounded by nice warm plastic.  I wanted to crawl in there myself.  Fertilized after planting with Neptune’s Fish and Seaweed Fertilizer.  Also ran the drip irrigation for a few hours.  A huge weight was lifted off my chest.  And an even bigger one replaced it.  The moment of truth had come.  Would they live in the ground?  They looked so happy.  They’d be fine.

That night it was chilly.  Down in the mid-upper 20’s.  Next day, a couple of the plants looked pretty saddened.

The last few nights, a few more started drooping over, and today, I looked at a whole bunch of very, very tired looking plants.  I was warned the cucurbits do not appreciate cool temperatures.  Warned by smart people who know a thing or two about agriculture.  Did I listen?  I did not.  I’m stubborn and had to try.  I hate being told I can’t do something.   Thusly, this is what we’re looking at now.
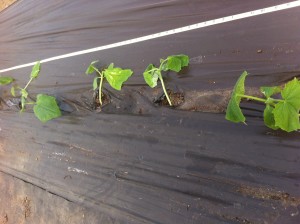
Some very tired cucumbers

Some very tired cucumbers

The two plants on the ends are still pretty upright, but the middle two pretty limp and flat.  I’m not holding out much hope at this point.  I’d say when I left the greenhouse this evening, at least 10, if not more were looking rather exhausted and ready for an extended nap.

I’m deducing that though the heater is set to keep the greenhouse at 70, that is the temp on the thermostat hanging 3′ off the ground in the middle of the greenhouse.  The cukes are at the far end at ground level.  According to that thermometer on the ground, the air down there is just not heating up.  This point was also mentioned by a smart farmer(I’m much better at learning things the hard way).

And so the dilemma…do I hang plastic like I usually do and section off only a quarter of the greenhouse to heat?  This is what I have done in past years.   If I section off the “starts quarter” now, I’m throwing in the towel on the cukes I planted.  50 plants=$50.  They’re a buck a seed.  Not cheap.  I also figure I will have spent close to $300 on heat for the week.  Half of that(or less) would’ve been spent anyway on the starts section, but let’s just say its split half and half.  That’s $150+$50= $200 lost.  Not bad.  If I continue to heat the whole thing and the cukes end up dying, I lose more than that.  I still have almost 100 cucumbers in 50 cell trays that need to get out.  At this point, I’m REALLY glad I didn’t plant them all on Saturday.  I’m thinking of transplanting them into 8″ plastic nursery pots and keeping them in there for a couple-two-tree weeks until the temps have come up significantly.  I’m wary though, because the word around town is that cucumbers don’t really like having their roots messed with, so it may be a dicey venture.  But at this point, it seems like my best shot.  Even if I do that and they all die, I’ll have lost $150 on the seed and $150 on the propane.  I can live with a $300 loss.  This is farming, right.  $300 is probably OK in the grand scheme of things.

I went ahead and transplanted a couple plants this evening to see how they’d do.  Whatever happens, the ones in the 50-cell trays are on the verge of yellowing and have roots coming out the bottom of the cells, so something needs to happen soon.  What will it be?!!  Stay tuned….

Meanwhile, everything else looks pretty good right now.
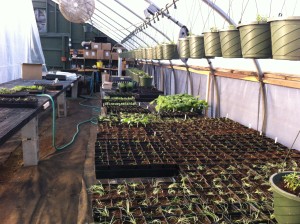
IMG_1374

Doing flower baskets again this year.  We skipped them last year because they didn’t really make money a couple years ago, but we missed them beautifying up the greenhouse last spring, so what the hell?  We’ll do them again this year and hopefully at least break even and have a pretty greenhouse.

That’s all for now.  If you’ve read all this, you’re a good man Charlie Brown.  Hopefully my story of the Telltale Cucumbers will be informative to someone somewhere at some point.  Hopefully I get around to posting more about them as the story unfolds.

Carry on, my sisters and brethren.
Spring is On Its Way….right?

Well, here comes another March which I will go out on a limb and say will be full of sunshine, warm days, lots of snow and freezing cold and windy days.  A little bit of everything.  This is the month where winter gets pretty long around here.  I have to say, though, that having some plants growing in our living room takes a little of the sting out of the final clinging month of winter.

And here’s a little Tom Waits tune that has brightened many a day the last bunch of years and given me hope…check out while you read, and have couple tissues ready…

IMG_0713 IMG_0714

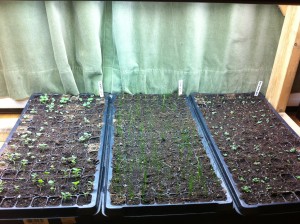
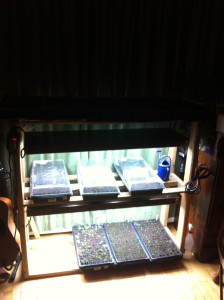
This year I’ve decided to sell herbs since I had many requests for them over the last couple years.  The three trays on the bottom contain, from left to right, Catnip, Chives, and Greek Oregano.  These were all started on 2/17.  We’ll see how they all turn out by the time I’ll need them for sale in the beginning of May, but I’m guessing the oregano could’ve been started sooner.

The trays in the middle have onions, leeks, parsley, dill and peppers which I started this past Monday, 3/2.  This weekend I will start basil and probably tomatoes.  Not entirely sure about the tomatoes, though.  If winter hangs on longer than expected and this snow sticks around, chances are gardens will get started pretty late.  Do I gamble on that and start everything a little later, or do I assume that spring will really show up and the snow will be gone by the first week of May?  Hmmmm?  I think this is one of those experience things that I will have a better grasp of with a few more years under my belt.  We’re looking at a good year for the wholesale accounts, so hopefully I make the right decisions and keep them happy.

On to the ginger…the first sprouts showed up a couple days ago.

IMG_0712  Out of about 150 seeds, I’m looking at 3 sprouts right now after about 2 weeks.  That’s ahead of the game over last year.  I’m not sure I saw a sport until sometime in April last year, though I did receive the ginger seed sometime early to mid-March.  This year I laid down a layer of Vermont Compost Fort Vee, put the seed on top, and covered with Bio-Biz Coco Mix from the local hydroponic store (Peak Hydroponics for those of you looking for some solid advice on hydroponic gardening…they have a website to order from, as well).  I’m thinking of planting the ginger in the ground in the greenhouse this year.  Might need a shade cloth for the greenhouse as I don’t think ginger enjoys the hot mid-summer sun so much.  Before I do that, I need to get some recommendations of soil amendments based on my soil test.  Yes, I need to do that.  Do it G!  Do it!!

Incidentally, the ginger has been on a heat mat(from Peak Hydroponics) set at 75 degrees.  According to the soil temperature gauge, the soil temp has fluctuated from around 65 to 78 depending on the temperature in our living room(which is usually between 70 and 80 with the wood stove going in the winter).

IMG_0637

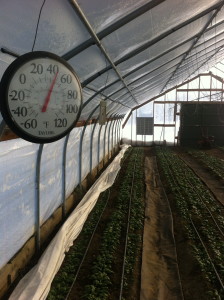
So here’s a picture of the spinach on January 31st.  Still looking pretty good.  I’d say its gone downhill since then.  I hope it just needs some sunshine and heat, but I’m wary.  I harvested about 5 lbs the other day and it took longer than I’d like due to the smaller size and funky leaves I had to cull through.  Quite a bit of frost damage.  For next winter, I think I’ll be prepared with an extra layer of row cover  for the coldest deep winter stretches, to see if that helps.
Whatever happens in the next couple months, I’m thrilled I planted half the house on September 1st.  I sold almost as much before November as I did all last winter.  That’s the ticket!  Plant early and sell in the fall and early winter.  There was little or no mold and definitely no frostbite.  That might be the plan next year.  Try and kill it in the fall, and anything in the spring will be gravy.  We’ll see.

That’s it for now.  Hope you enjoyed listening to Mr Waits.   Can’t get enough of that guy!

Spring is on the way!

See you soon!


Wow! It’s a bit chilly out there!!

Once again, if for nothing else, a post to record the current status of Friends and Neighbors Farm.


IMG_0637IMG_0638


First, the spinach.  These pictures were taken on 1/21.  Spinach looks pretty darn good despite the frigid temps.  Up until this point, I had not turned on the heater.  And, on this day I actually turned on the drip irrigation for the first time since November, I believe.  I ran it for about 3 hours.  Seemed like the right thing to do.  I could dig my finger in the soil and it seemed pretty dry.  Thought the spinach would enjoy some water.

Today, I actually turned the heater on.  Its hovering around zero degrees right now with the wind chill bringing it a bunch lower.  The wind chill is obviously not affecting the inside of the greenhouse, so with the sun out, it was actually around 30 or so in there.  Quite nice compared to outside!  But, I’ve been wondering if the heat might help the spinach start growing a bit faster.  I feel like we’ve had some decent light lately, just cold temps.

I need to research the feasibility of turning the heat on at all in there for the spinach.  It obviously doesn’t need the heat to survive, but if I can get more growth, sell more spinach, does it make sense?  And what temp to set it at?   How long to run it?  Day?  Night?  I know the answers are out there somewhere.  Someone surely has asked the same questions.  If by chance anyone reads this with some insights, please share.

I guess I’ve decided I’m going to let it run for a couple hours today, if for nothing else, to thaw out the frozen parts of the row cover.  I’ve had the spinach uncovered for the last few days, but with temps predicted to reach 20 below in the next few days, I want to make sure its covered up.

Getting ready to start some herbs for the spring.  New experiment this year, but I had enough people ask about herbs the last couple years, that I think its probably going to be worth it.  We’ll just see how close I get the timing.  Should have my seed orders ready to go the beginning of this week.  Exciting!  Spring is on its way!!  Right?

Should also be getting my ginger shipment in the next couple weeks.  Excited to try that again and hopefully get it right this year.  Or at least more right.

That’s it for now.  Stay warm people!!

Papa G

Mid-September Update

Well, I’m pretty sure I’ve done a poor job of keeping this web page updated on the goings on of my summer farming adventures.  Then again, I’m sure whoever came up with agriculture didn’t have the world wide intra web in mind when he sowed his first seed(not to imply that it wasn’t a woman, but my beautiful and highly intelligent wife recently informed me that agriculture was the beginning of male chauvinism.  Who am I to argue?).

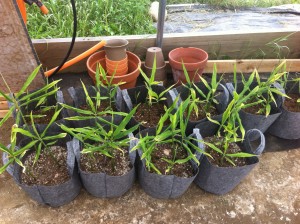
Anyways, the ginger.  Some of it is growing nicely, in my opinion, and some of it…not so much.   I planted the sprouting ginger in fabric bags specially designed for growing.  Ginger 6/10/14

There are a few more bags than this, but you get the idea.  The “burning” on the tips was diagnosed by a couple sources in the know as lack of Potassium.  The source of my Potassium(potash) also diagnosed a nitrogen overload, so they sold me powdered molasses to go with the powdered potash  The molasses apparently regulates the plant’s Nitrogen intake.  I have to admit, I wasn’t diligent about feeding these things.  I probably did a good job feeding them for about a month or so, maybe a little longer.  I mixed 1/2 tsp potash, 1/2 tsp molasses powder, and about 1/2 cup liquid kelp fertilizer to one gallon of water.  It seems like some of the plants responded very well and others could’ve cared less.  Again, as I said, I wasn’t overly diligent about this, so its possible there were inconsistencies in the program that affected certain plants adversely.

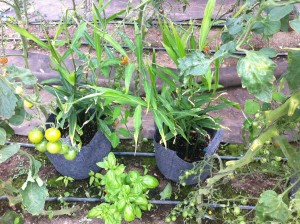
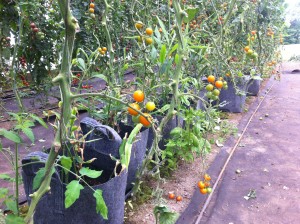
I ended up interspersing the plants amongst the cherry tomatoes to provide some shade, as I was told ginger likes some shade.  I wish I had moved the ginger into the tomatoes earlier than I did(of course I don’t remember when I did move them).  I was thrilled to discover that the drip lines for the tomatoes were watering the ginger at the same time…Thank God!  Or they might have died of thirst!

IMG_0366 IMG_0369


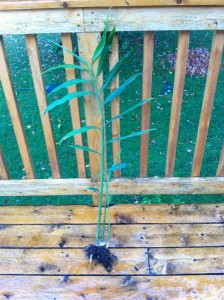
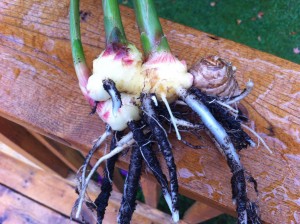
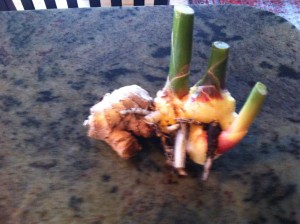
Well, a little over a week ago I harvested on of the nice looking plants.  I’d say it was about 3′ high and produced about the same about that I planted(it doubled).  Not sure how that stands up to growers who know what they’re doing, but seems cool to me for the amount of time I put into it.

IMG_0389IMG_0391 IMG_0394


I feel bad that I didn’t post some of these pictures this summer when this was all happening, but maybe people will read this in January and will enjoy this vision of summer!

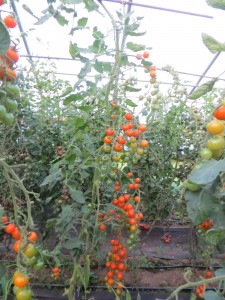
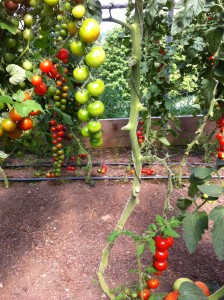
Cherry tomatoes have been a success in my book.  They are a fair amount of work between pruning and suckering, and finding and disposing of hornworms(just showed up in the last couple weeks).  Right now, keeping up with harvesting isn’t really happening, either.  Over the last few weeks, the demand has dropped and fruit has been starting to spout and go bad on the plant.  Doing our best to remove all split, damaged and dropped fruit from the greenhouse.  For next year, note to self: set up more restaurants from August-September.  Probably could sell about 4-5 cases(48-60 pints)/week from early August through the end of September.  The Sungolds are on their way out.  The Black cherries and Sakura Red are still cranking pretty good. I’ve had the water turned off for a few weeks now, due to fruit splitting.  I have to think there’s a whole relationship of water to ripening to splitting.  Either someone will fill me in on it or I’ll figure it out after a few years.  Anyways, here’s some pictures from mid-summer of the cherry tomatoes.

IMG_1676 IMG_1683 IMG_0350 IMG_0352 IMG_1688


Ahhh..summer…that was fun!

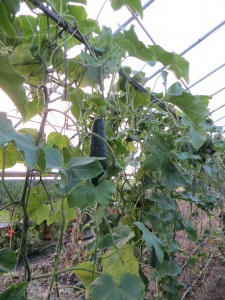
Cukes were a hit, as well!  Didn’t plan on selling any but thanks to our neighbor, Julie, “pimping” them to the co-op while we were away on vacation, we discovered a new market.  Apparently nobody was supplying the local co-op with early cukes.  Who’d a thunk, right?  So I planted 36 cukes, 18 Corinto(slicing) and 18 Excelsior(pickling).  These are varieties specifically bread for the greenhouse, so they thrived.  We might have earned the earliest pickling award for Central Vermont(doubt it, really) according to a friend, for pickling by late June.  Will definitely do the cuke thing again next year.

IMG_1677 IMG_0324

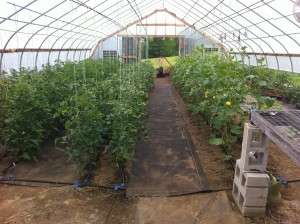
These pictures are all from June 10th.  Look at those things!  Cukes on the right, cherries on the left.

IMG_0323


OK, I’m feeling about done.  The last thing to report on is the spinach which has been planted in 3/4 of the greenhouse and some outside, as well.  Oh yeah, and the garlic.  Next post….goodnight everybody.