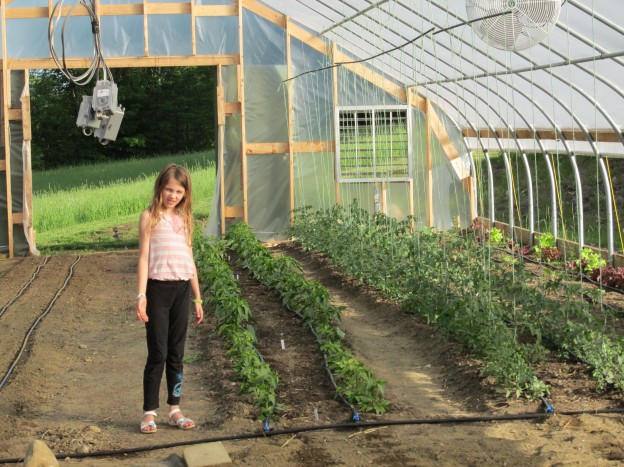
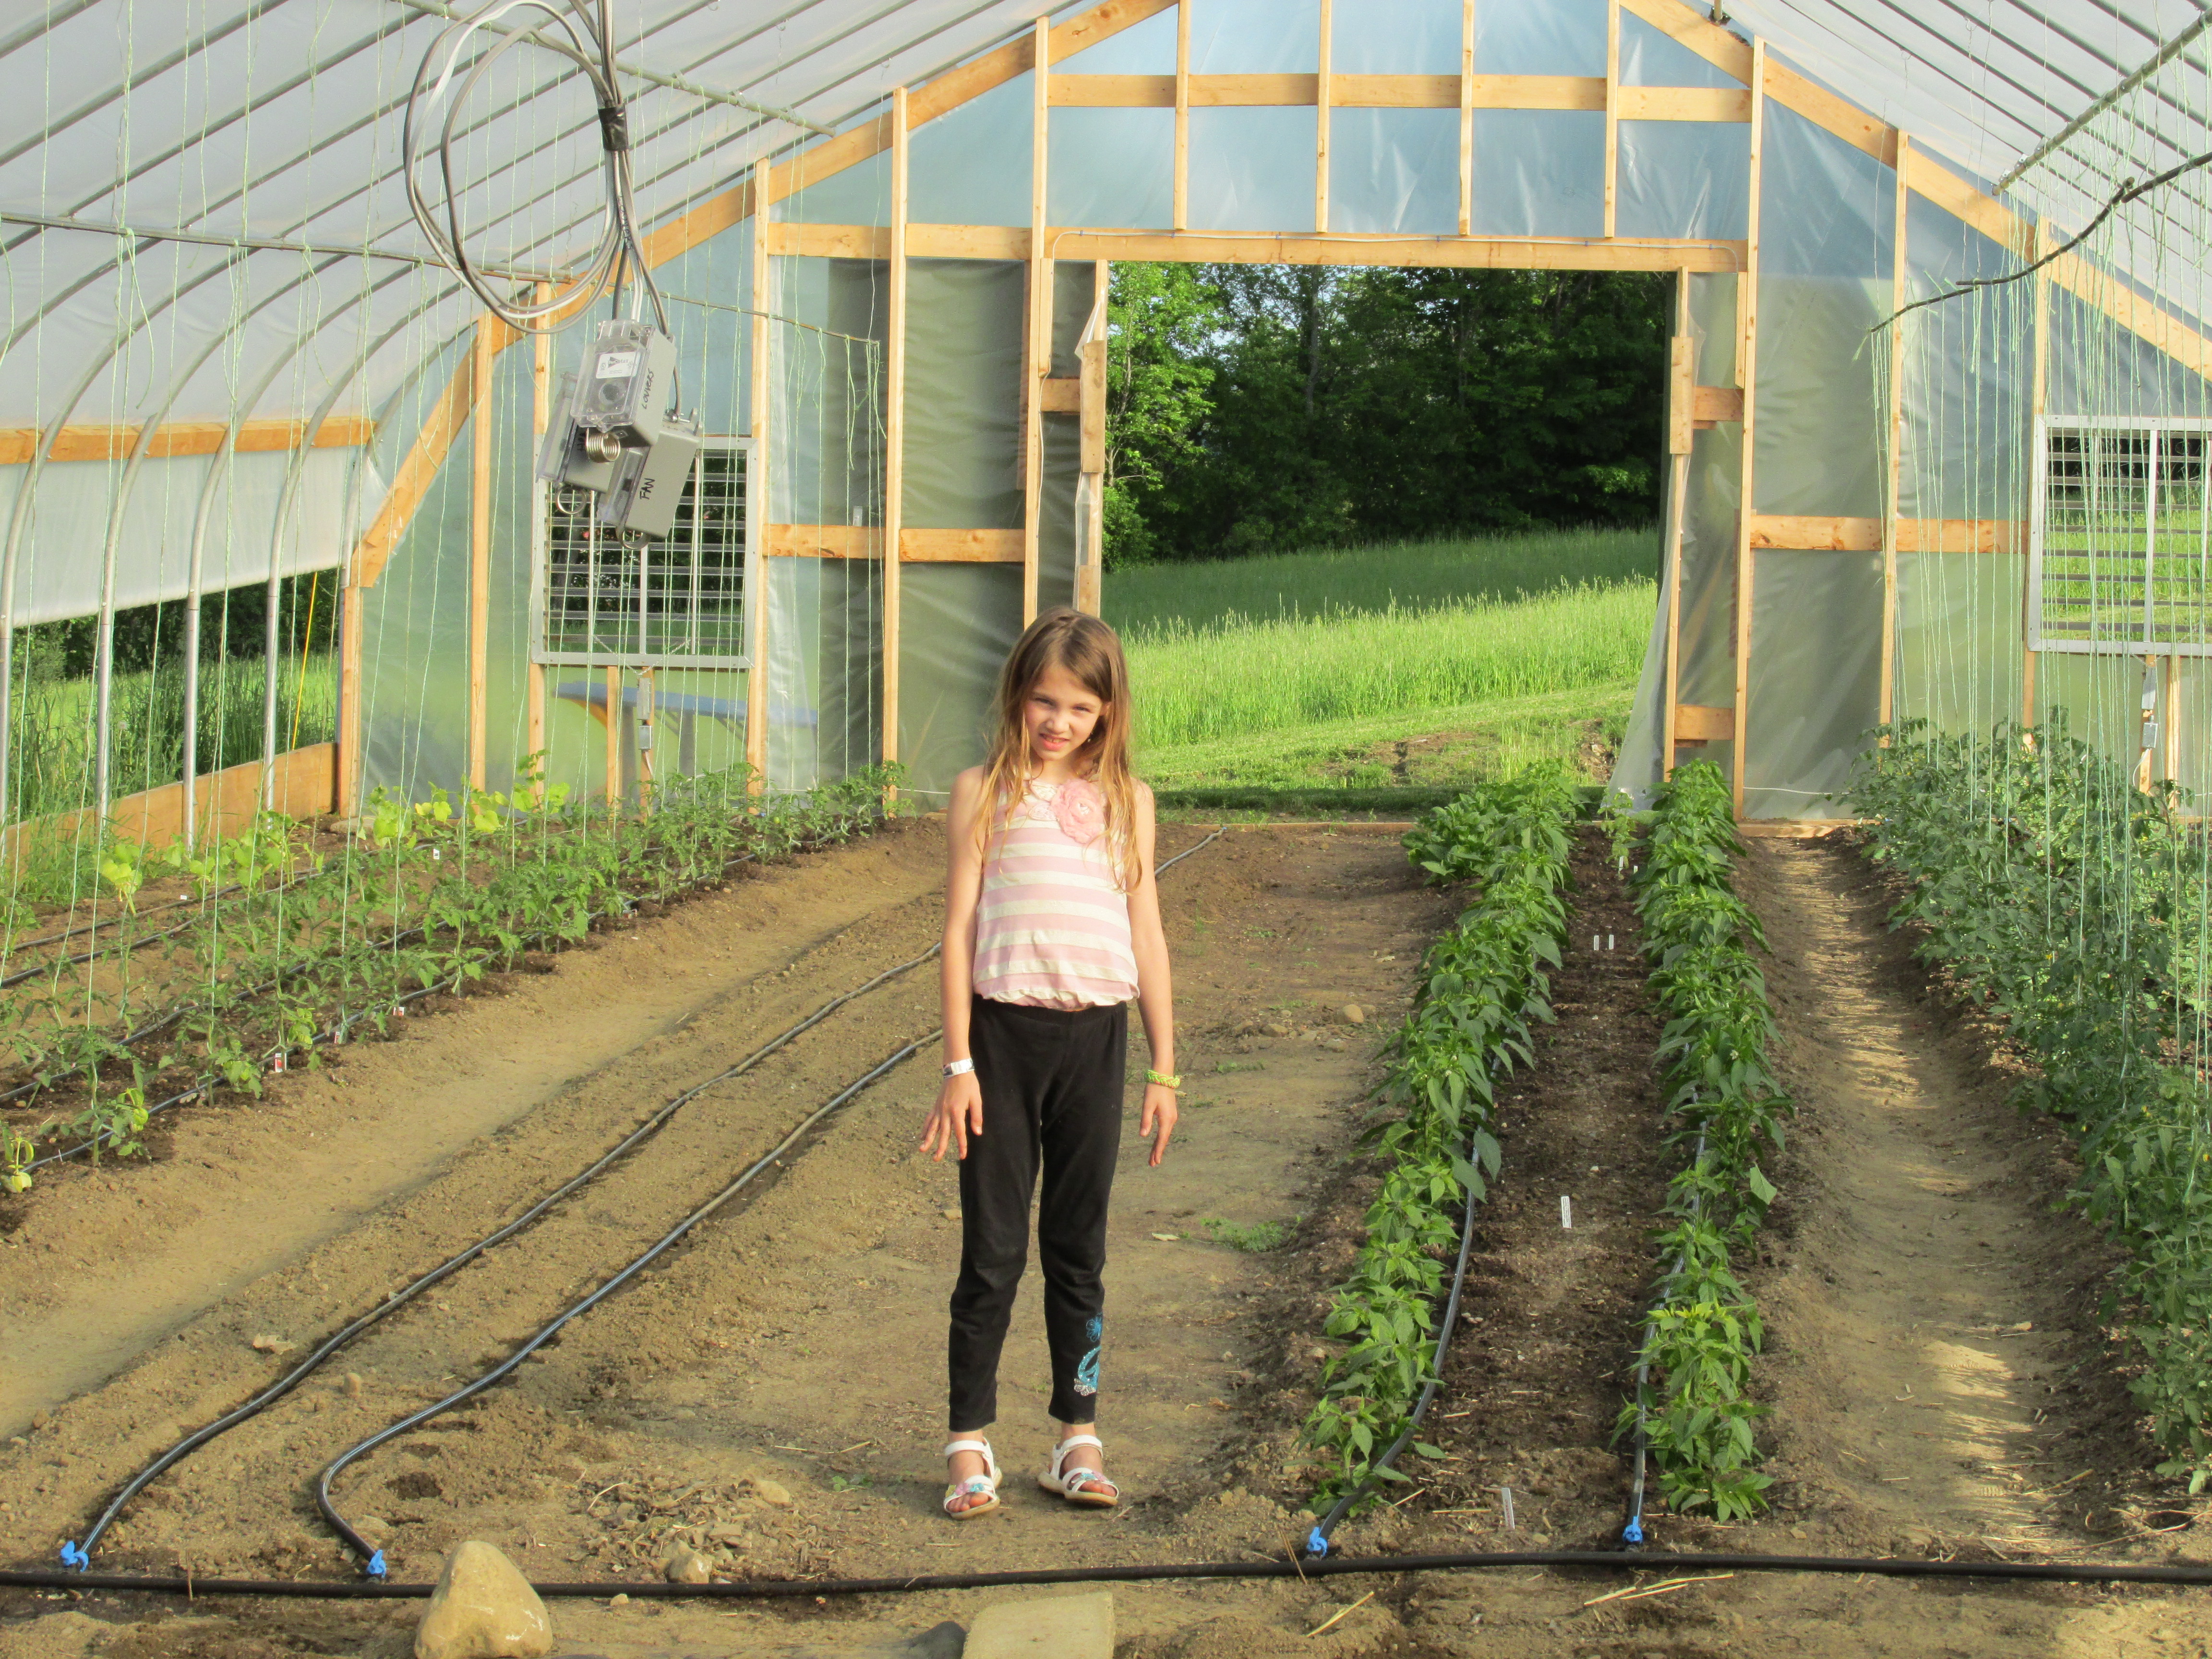
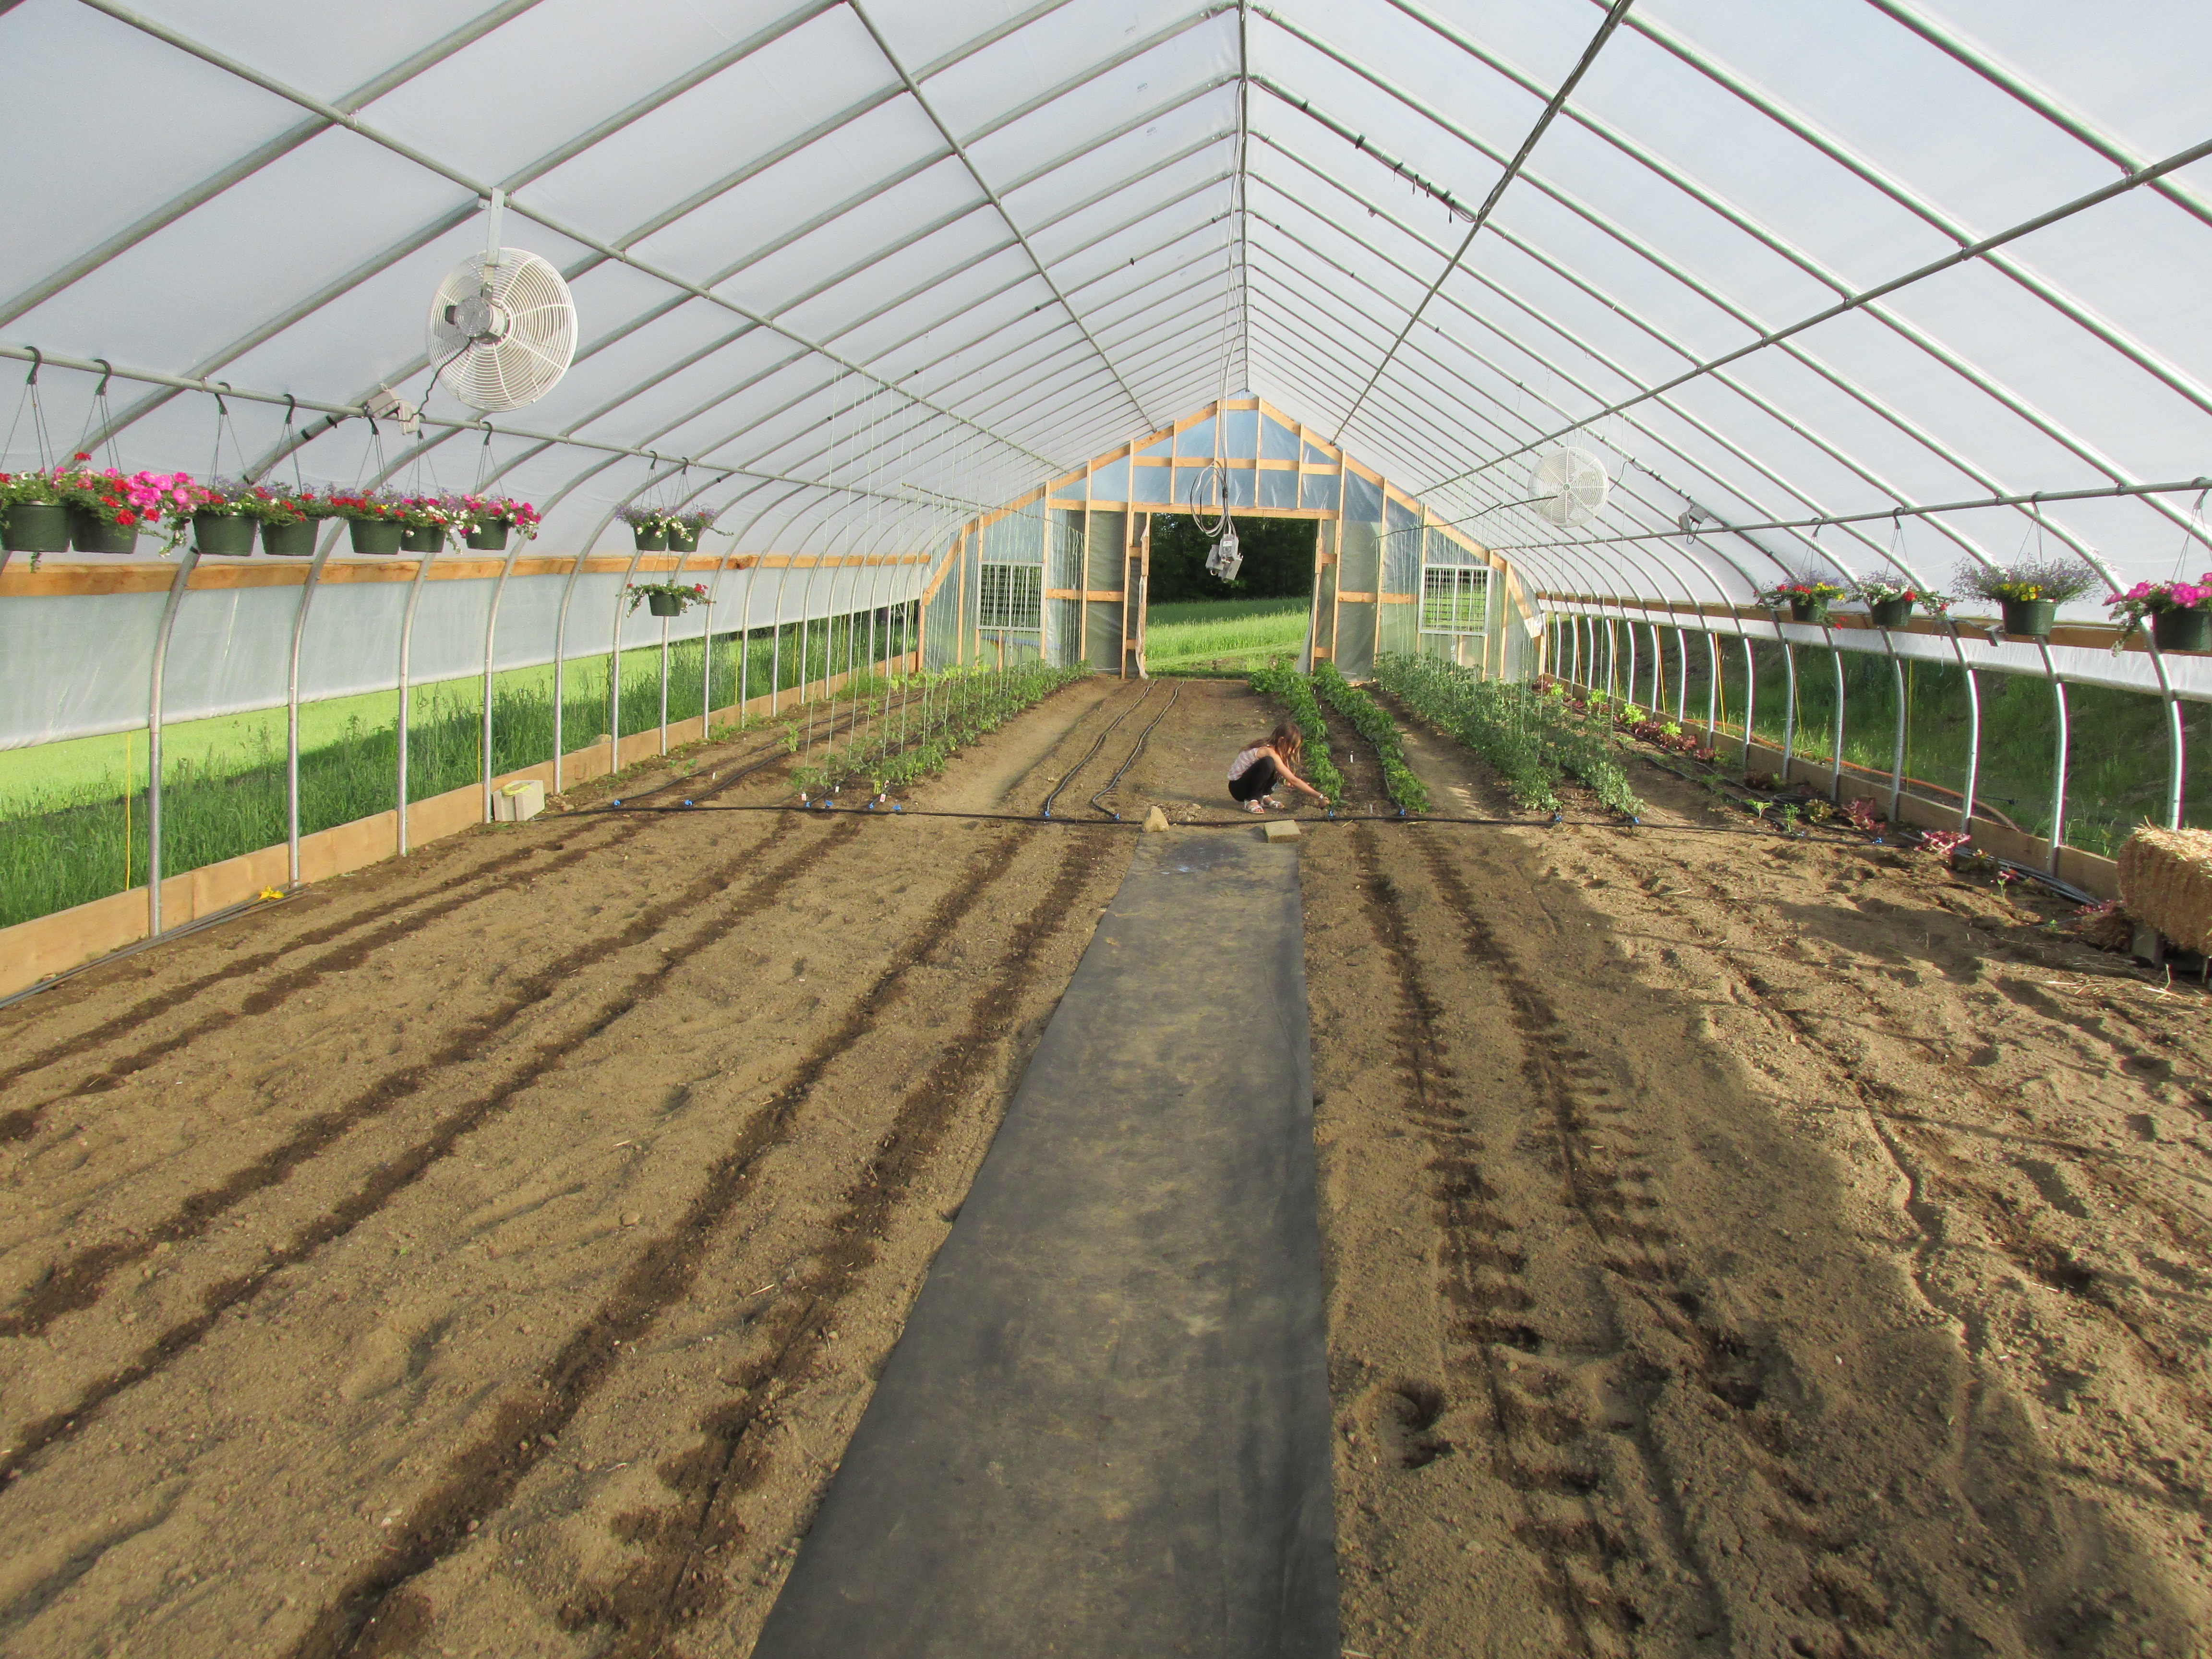
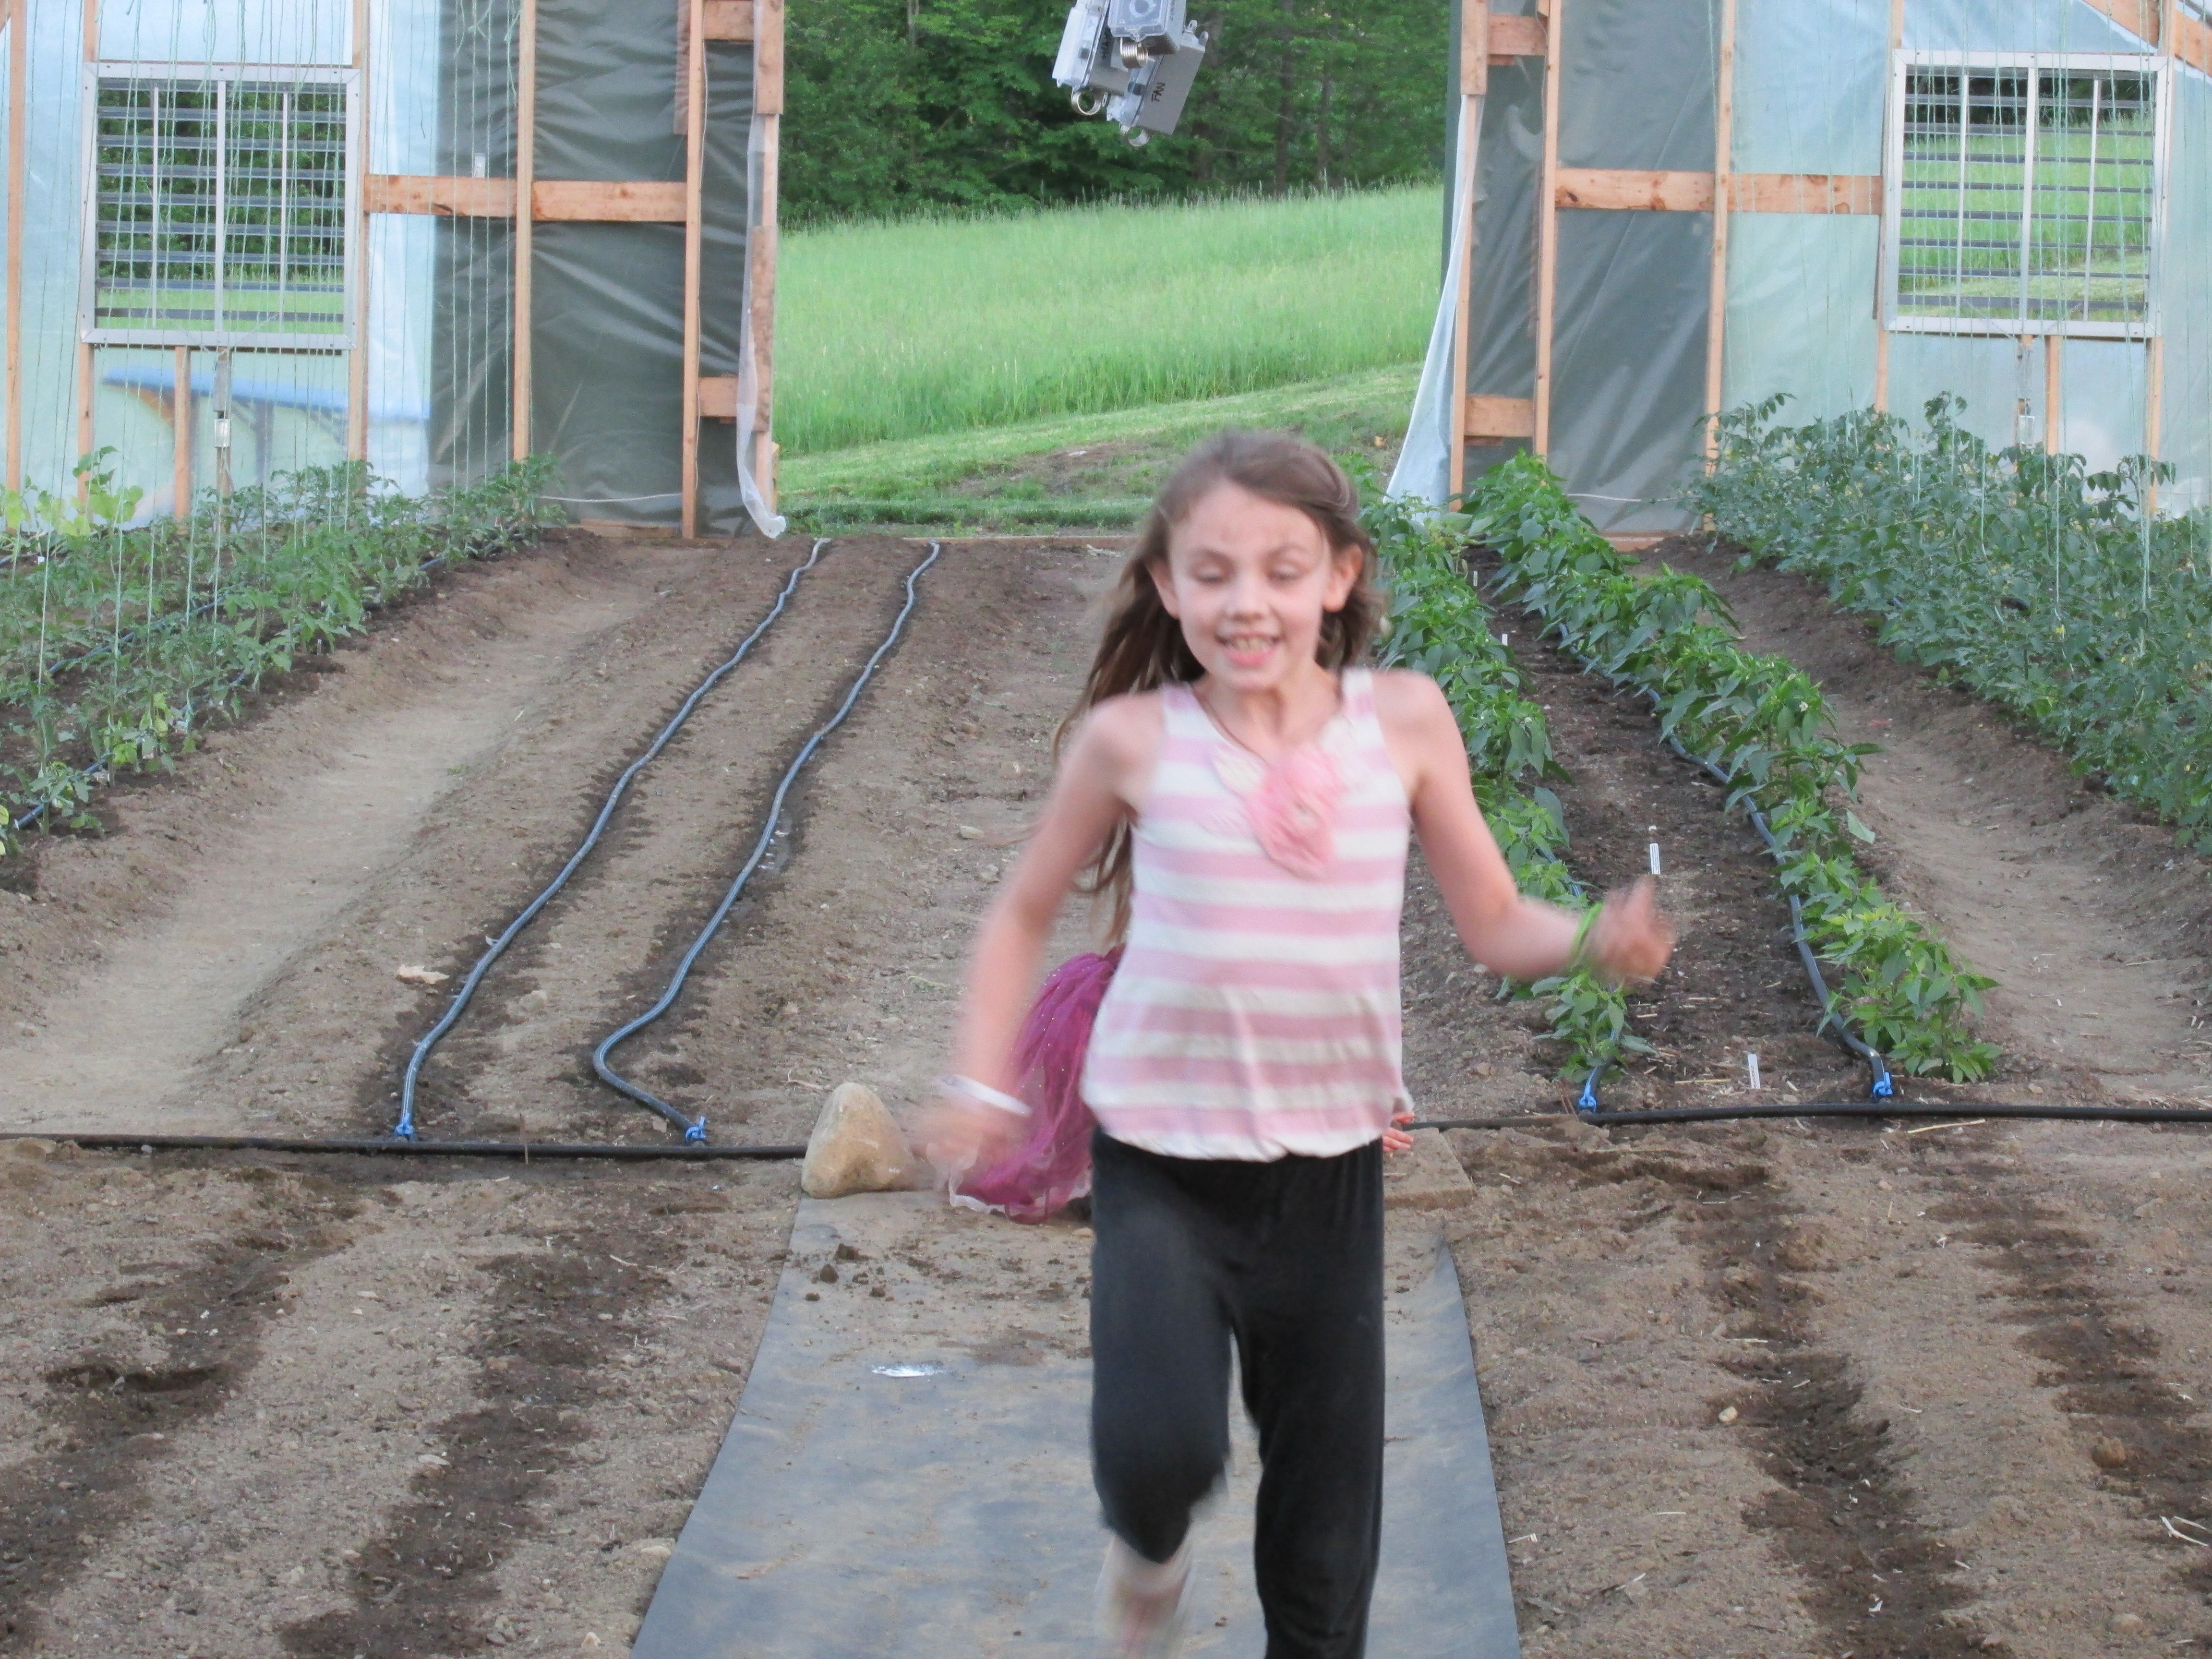

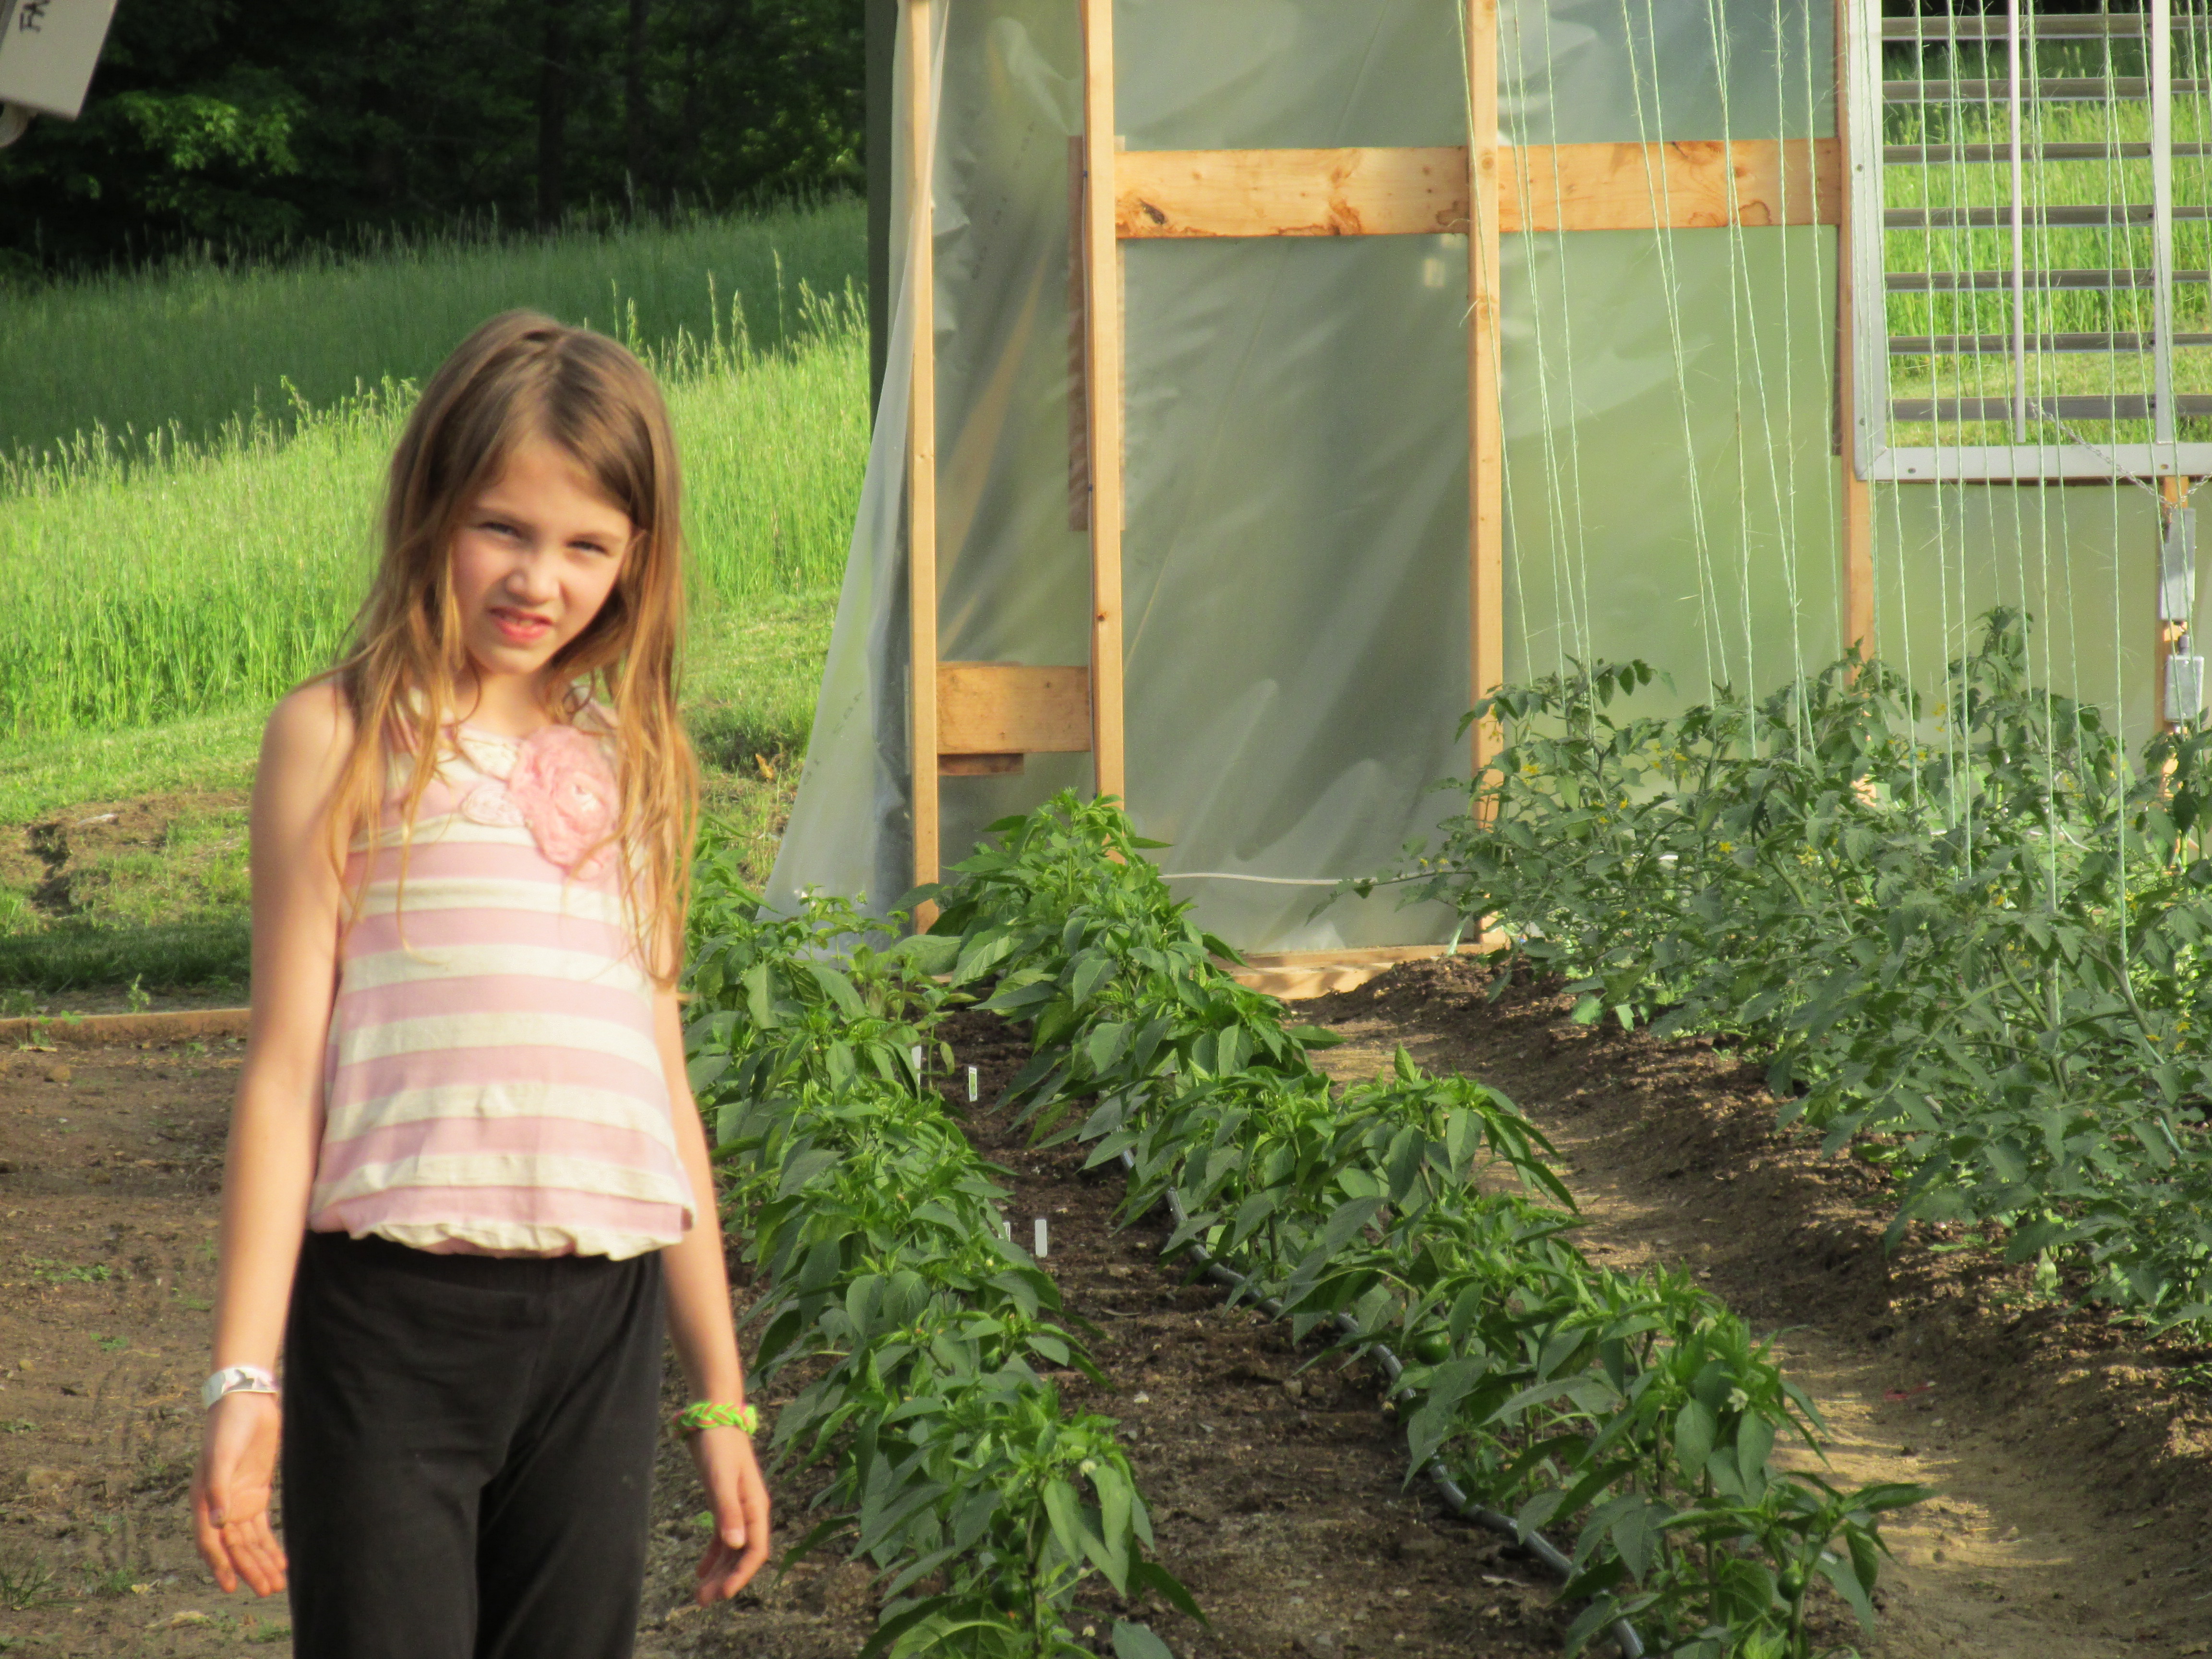
So this was a very exciting weekend in the greenhouse…for me, really. Not to say the rest of the fam didn’t dig it, as you can see, but this was something I’ve been losing sleep over and thinking about for months: a drip system and trelising tomatoes. Both of which were accomplished this weekend. At least I think they were. The trellises may fall and the drip system may blow up! Who knows!
Anywho, I purchased the drip system from a company called Agrinovation from Quebec, all for around $300. All the parts(excluding the 1/2″ PE tubing which connects to the drip tape)came in a fairly small box for around $15, which I thought was great. After looking at some diagrams online, it wasn’t too hard to figure out which part went where. The hardest part was connecting the tubing to the elbows and fittings. Now that it is set up, I’m thrilled. Every bed has two drip lines which do a great job of soaking the area around the rows. This way the leaves are not getting wet, preventing burning in the hot sun, or conditions for mold and disease in cool humid conditions. The drip system is also on a timer. The timer was $50, runs on a 9V battery, and can be programmed to come on up to 8x/ day, 7 days a week. Right now I have it programmed to come on from 7 to 8 at night. When it gets warmer, I will probably put it on for another hour interval in the morning. See how it goes. Right now, its so cool and cloudy, I’m thinking I should just shut it off for a couple days. I love it, though! Now we don’t have to be around to water the greenhouse.
Trellising the tomatoes was very exciting, as well. I was originally thinking of purchasing four cross supports, then running a wire over the supports, and trellising down off the wire. But Ed Person, from Ledgewood Farm in New Hampshire, previously referred to in one of my posts as “The Greenhouse Guru,” said I could do it more simply and cheaply by attaching electrical conduit clips to my existing frame(purchased from the local home supply place, directly over the rows to be trellised) and drop some fencing wire down(used wire given to me by my neighbor who had junk fence wire from his cow fields) and wrap the wires around lengths of rebar(picked up from the local home supply place, as well). The twine was also given to me by the same neighbor, for free. The whole thing cost about $70( I bought more rebar than I needed, but I’m sure I’ll use it). It took about 5 or 6 hours to set up 4 rows of tomatoes, but will take much less time next year with the infrastructure already in place. We’ll see how everything does. Am I using the right twine? Does it matter? No idea. Did I attach it to the plants correctly(regular overhand knot down by the base under as major a leaf stem as I could find)? No idea. Looks close to the pictures I’ve seen, though.
The cherry tomatoes seem to really be enjoying the greenhouse, the water, standing upright. The slicing tomatoes have been a slower to warm up the idea of the greenhouse. They may have been stunted a bit since I put some of my oldest plants in. We’ll see, won’t we! Either way, I’m VERY excited!!!